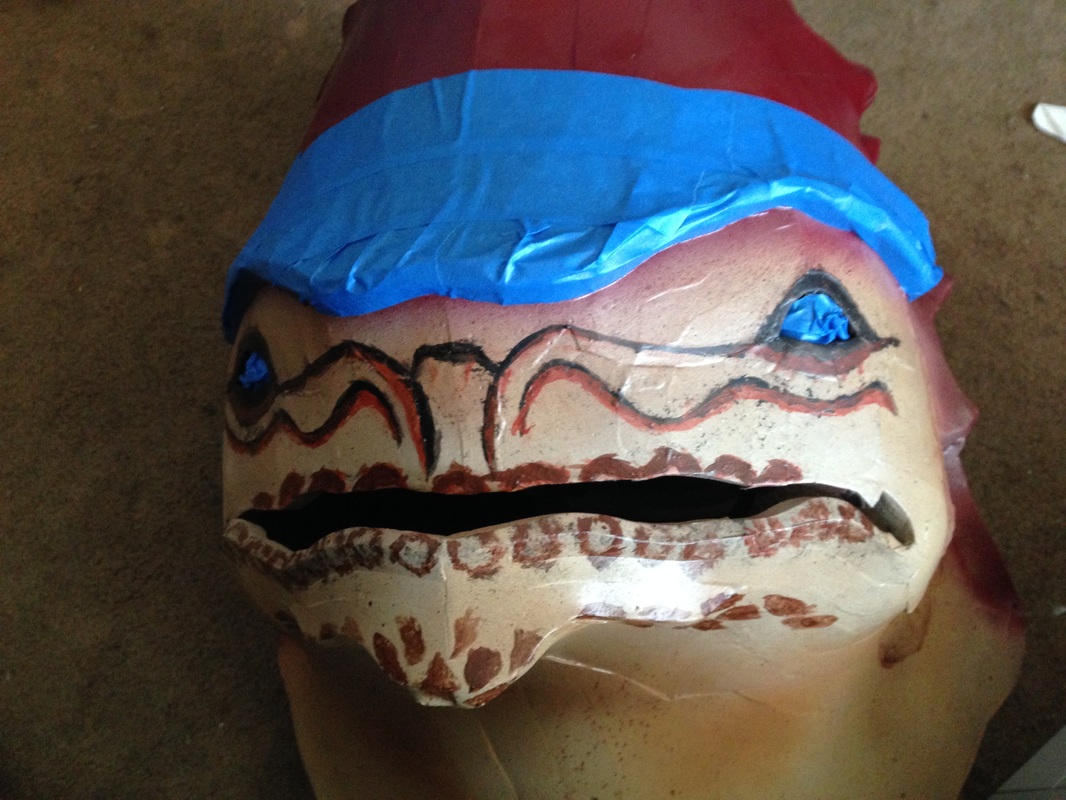
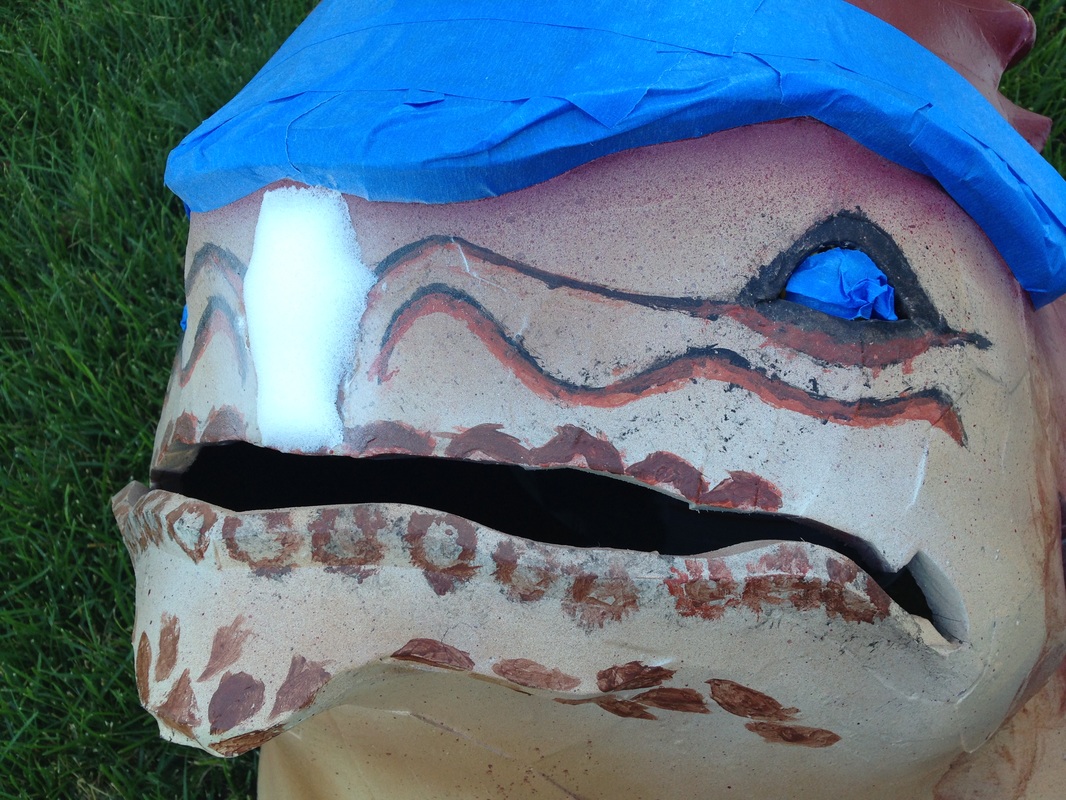
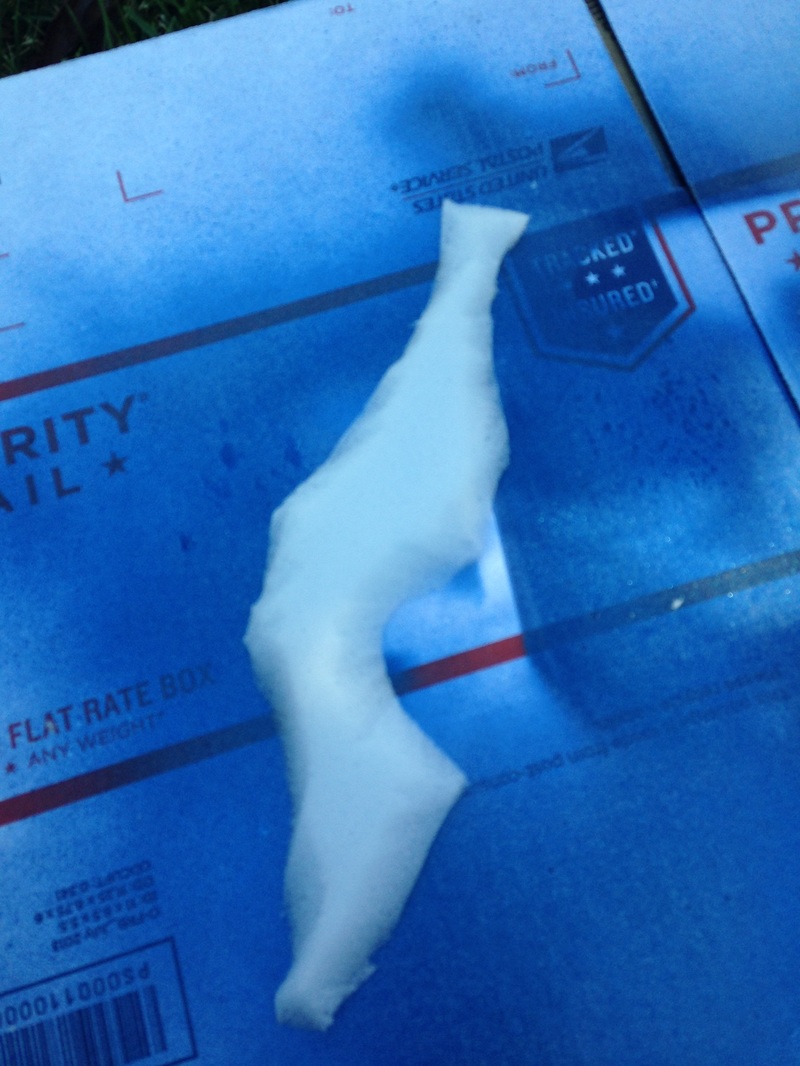
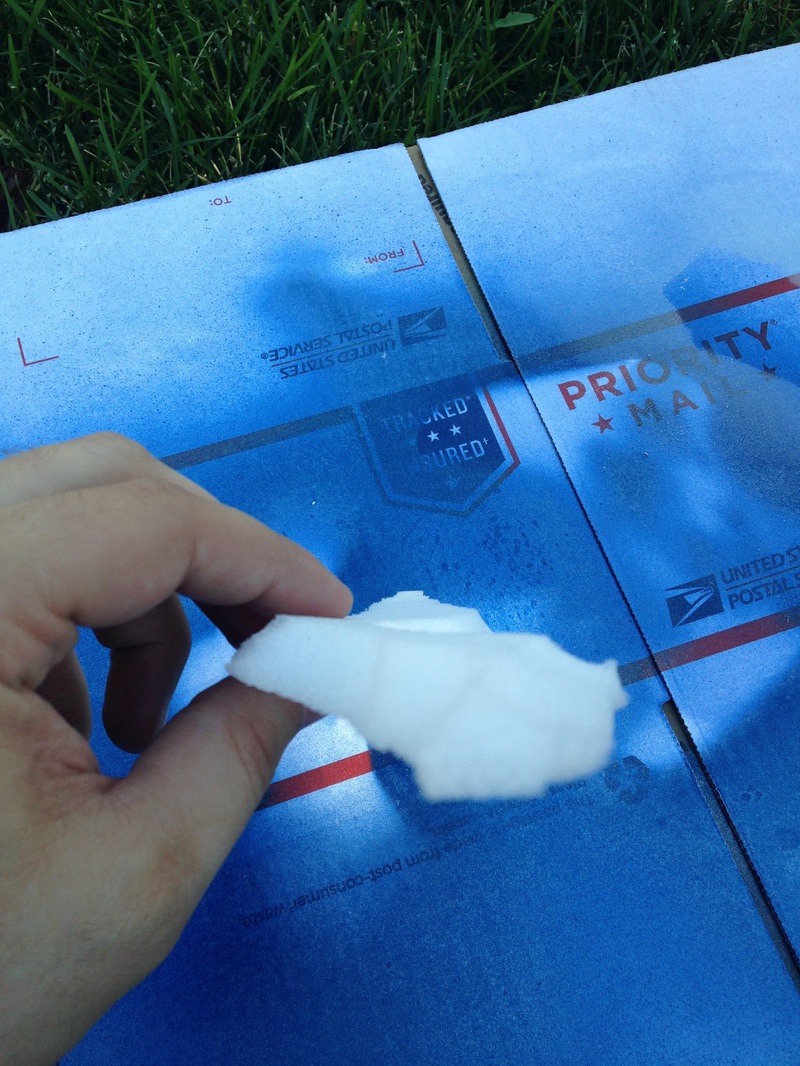
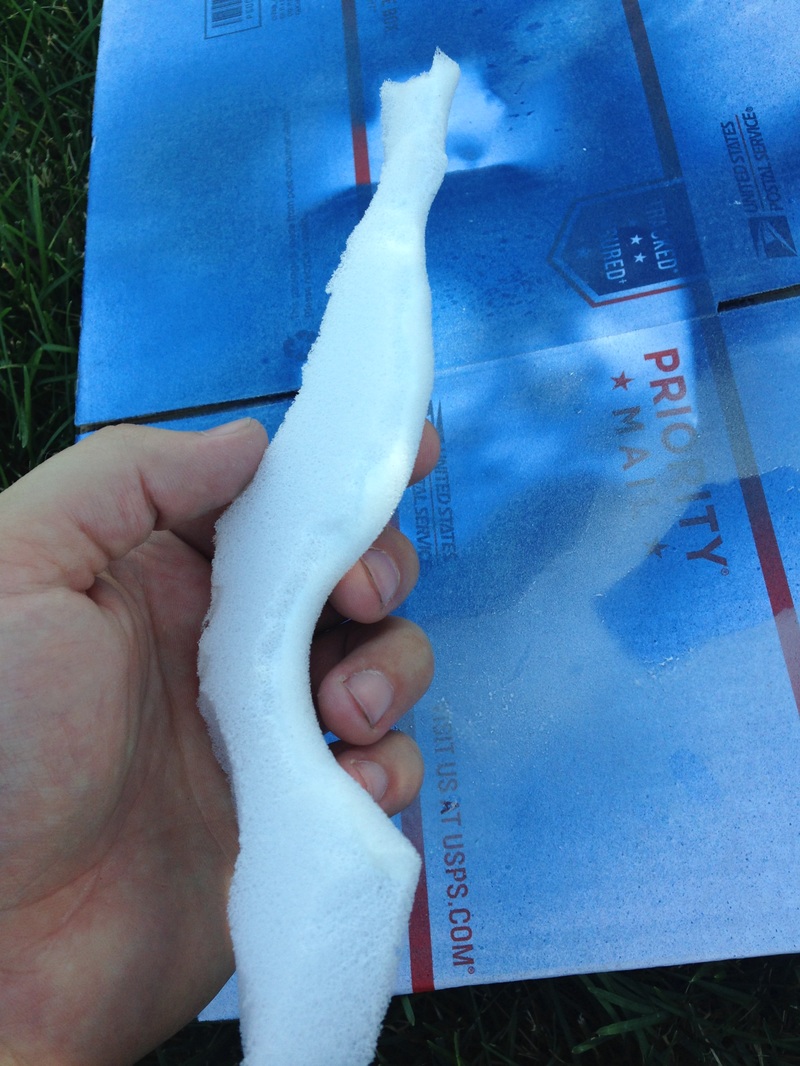
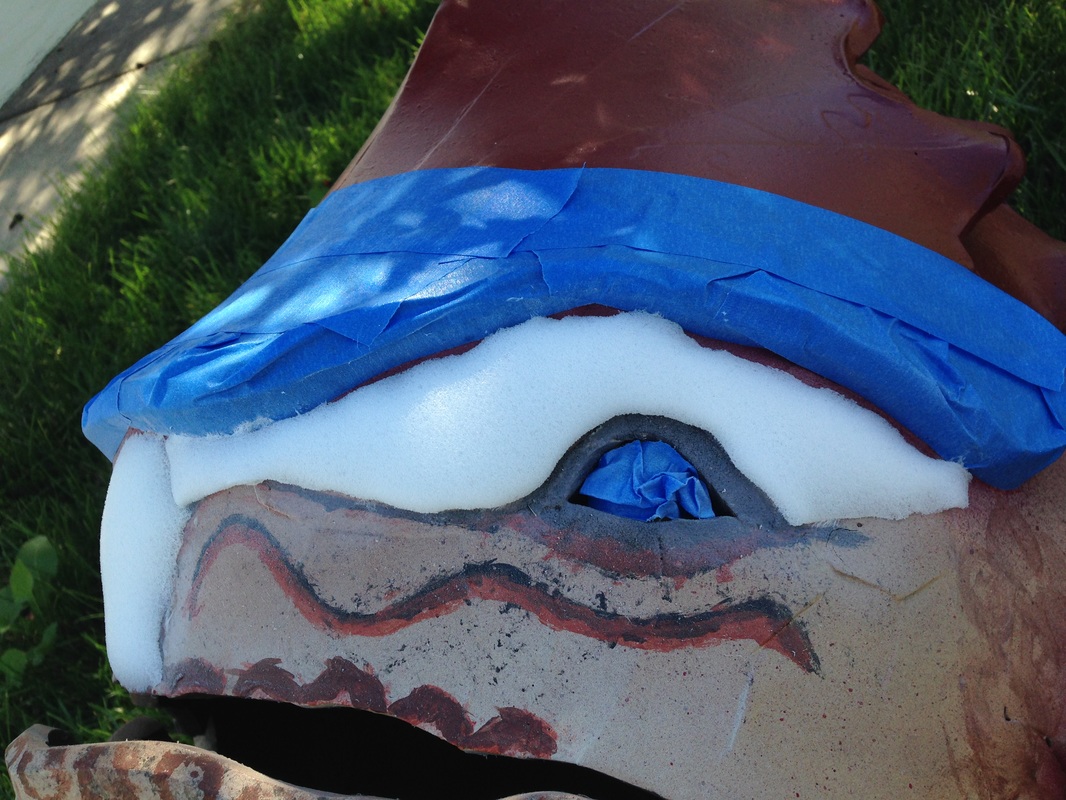
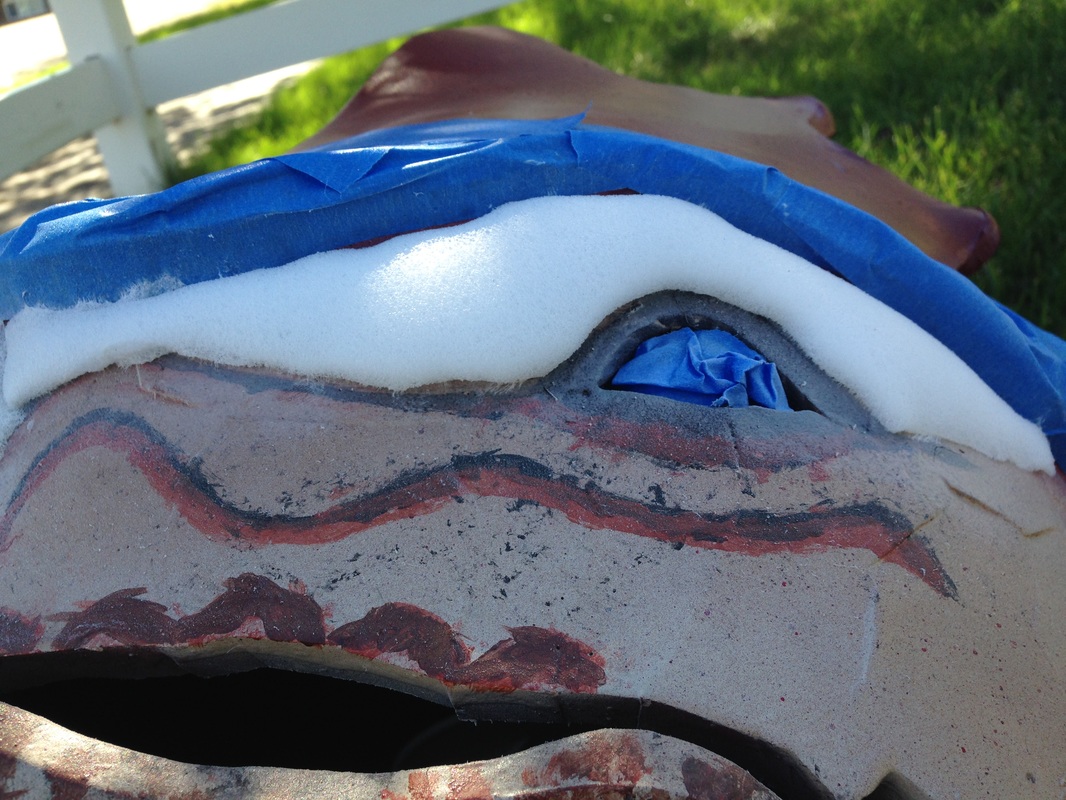
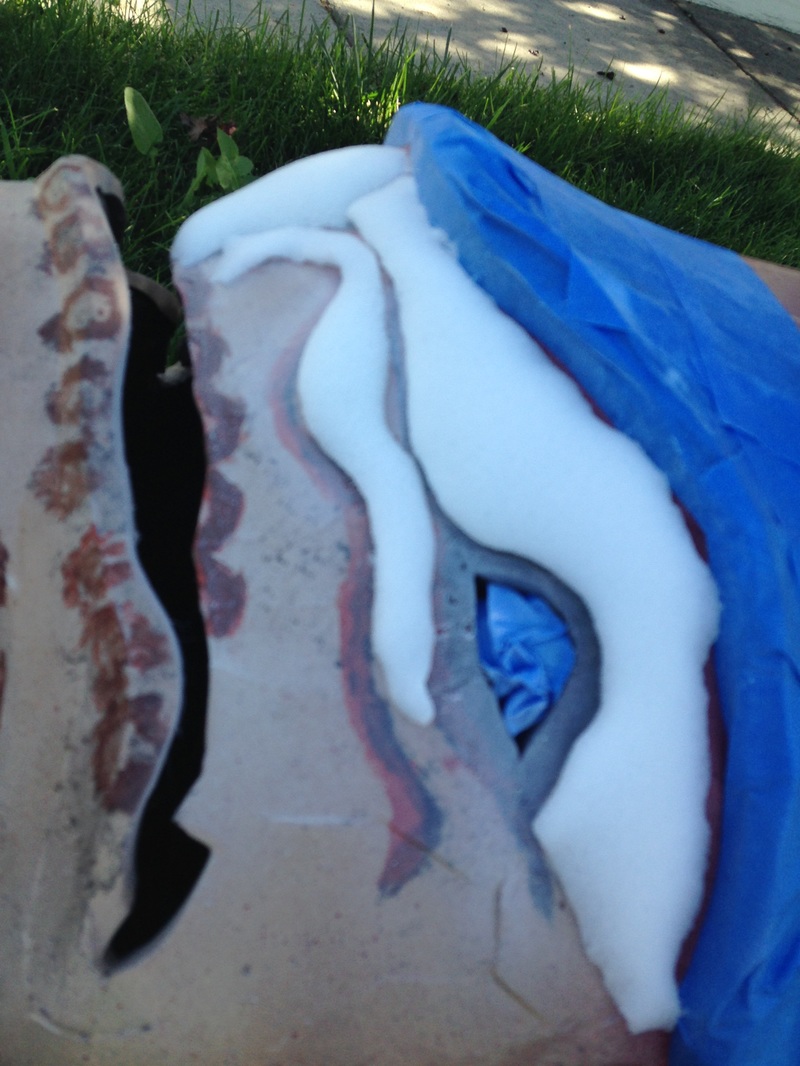
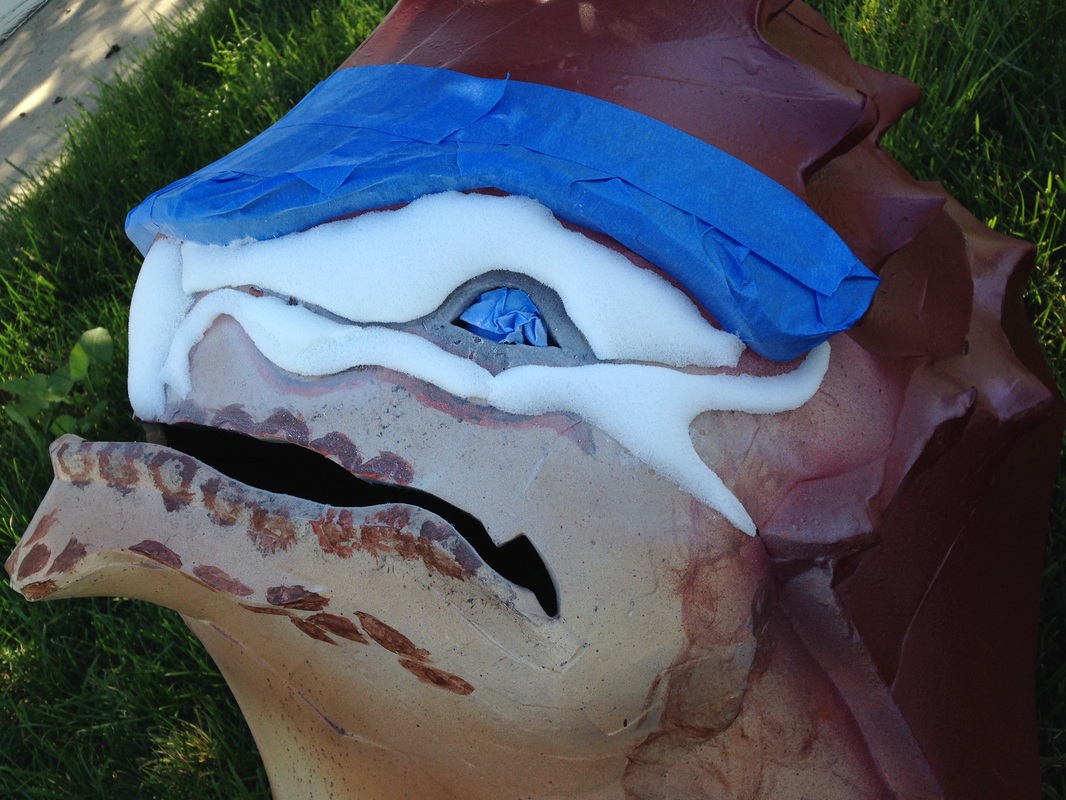
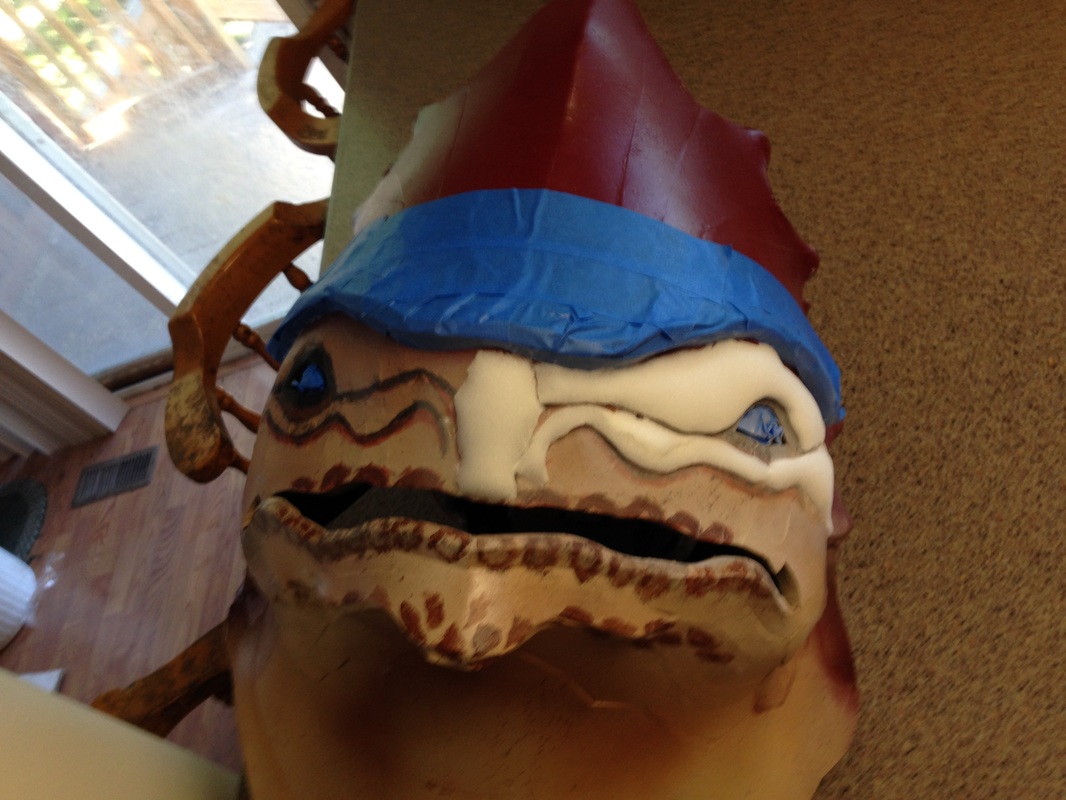
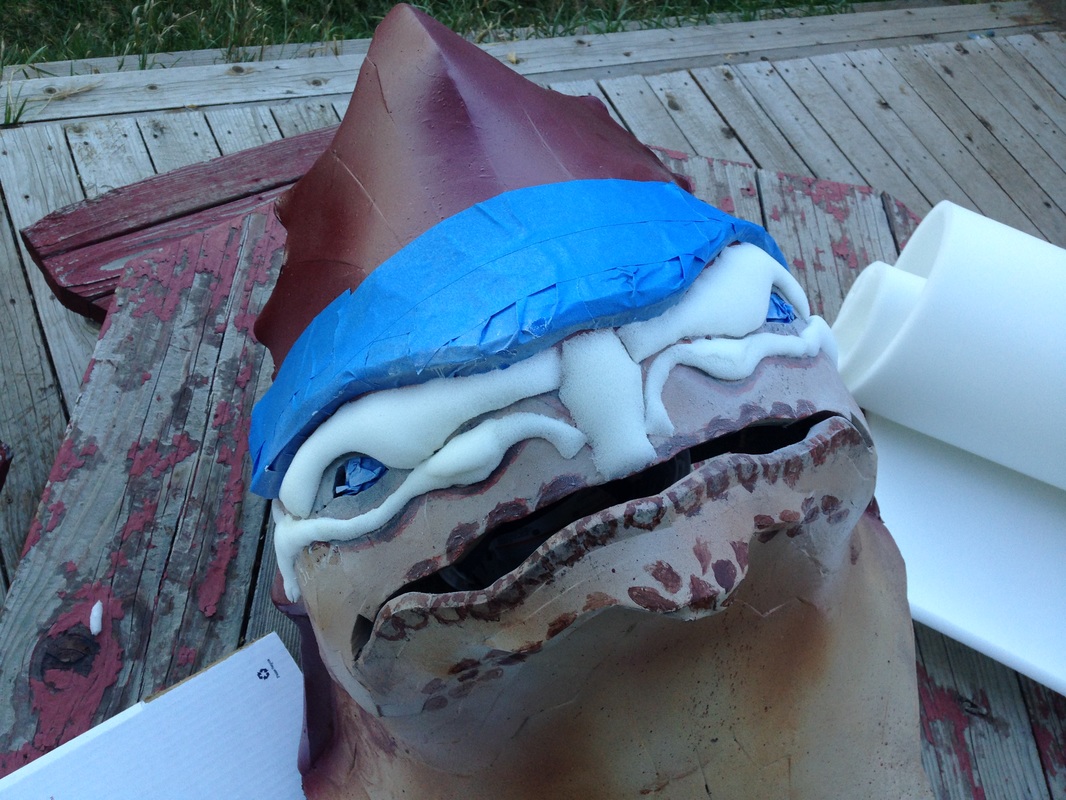
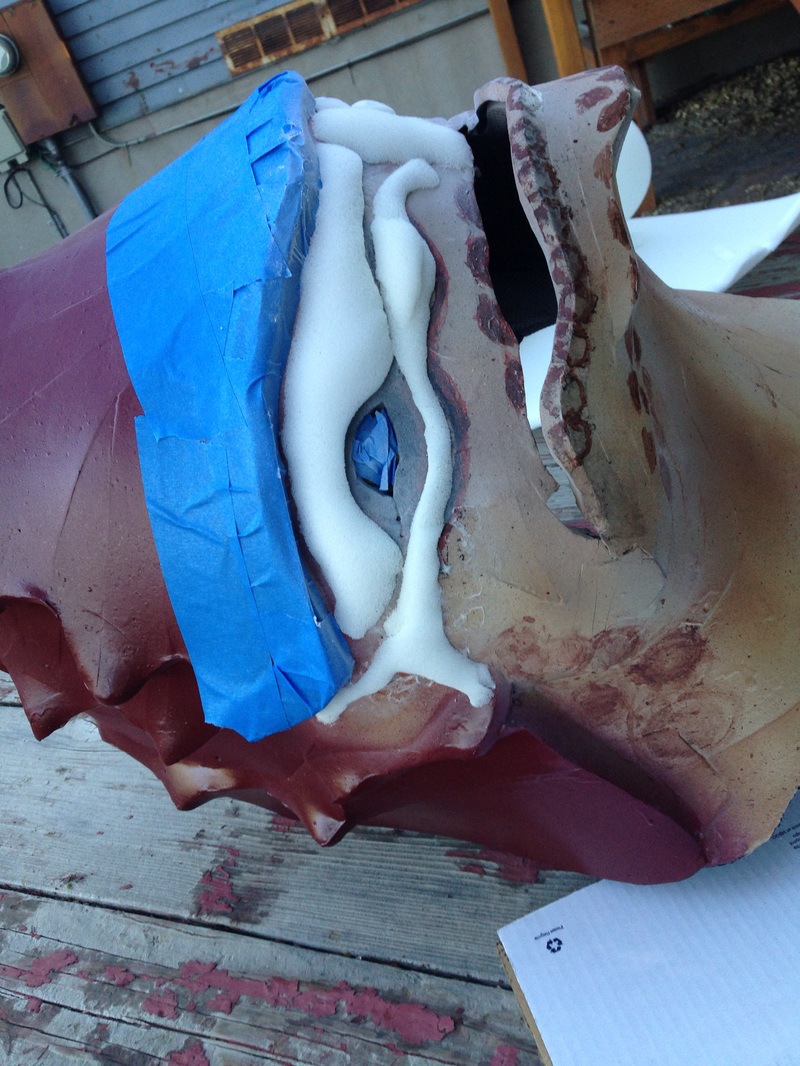
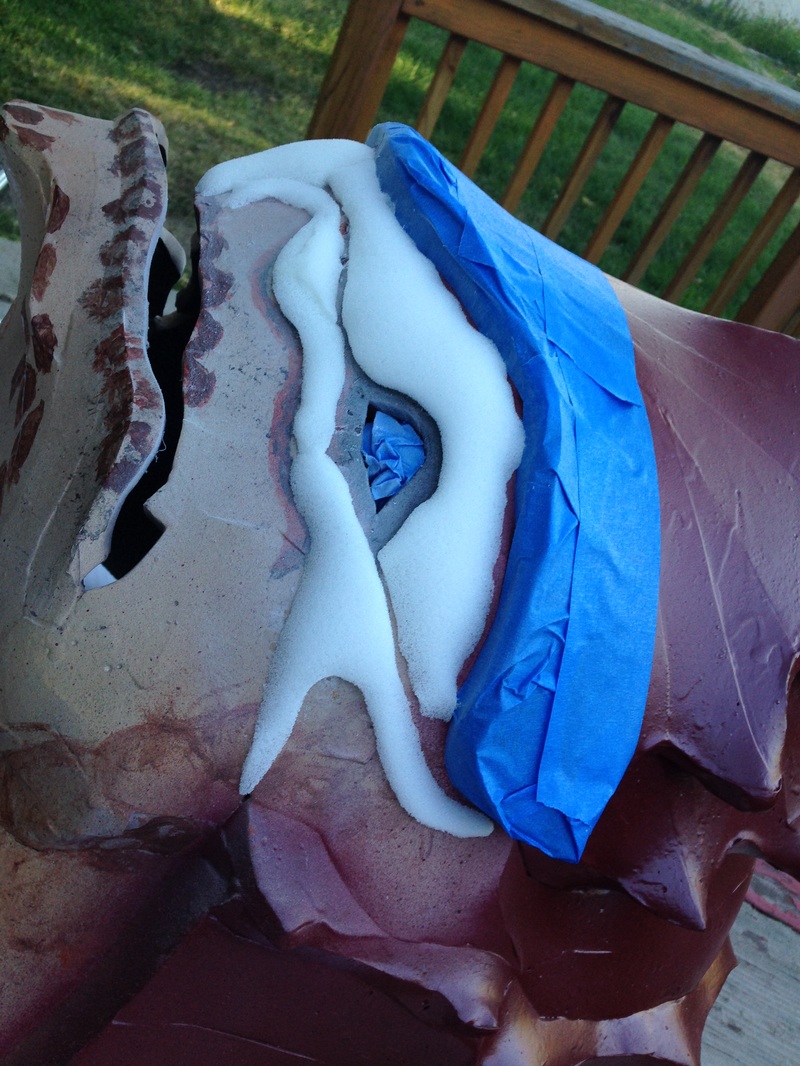
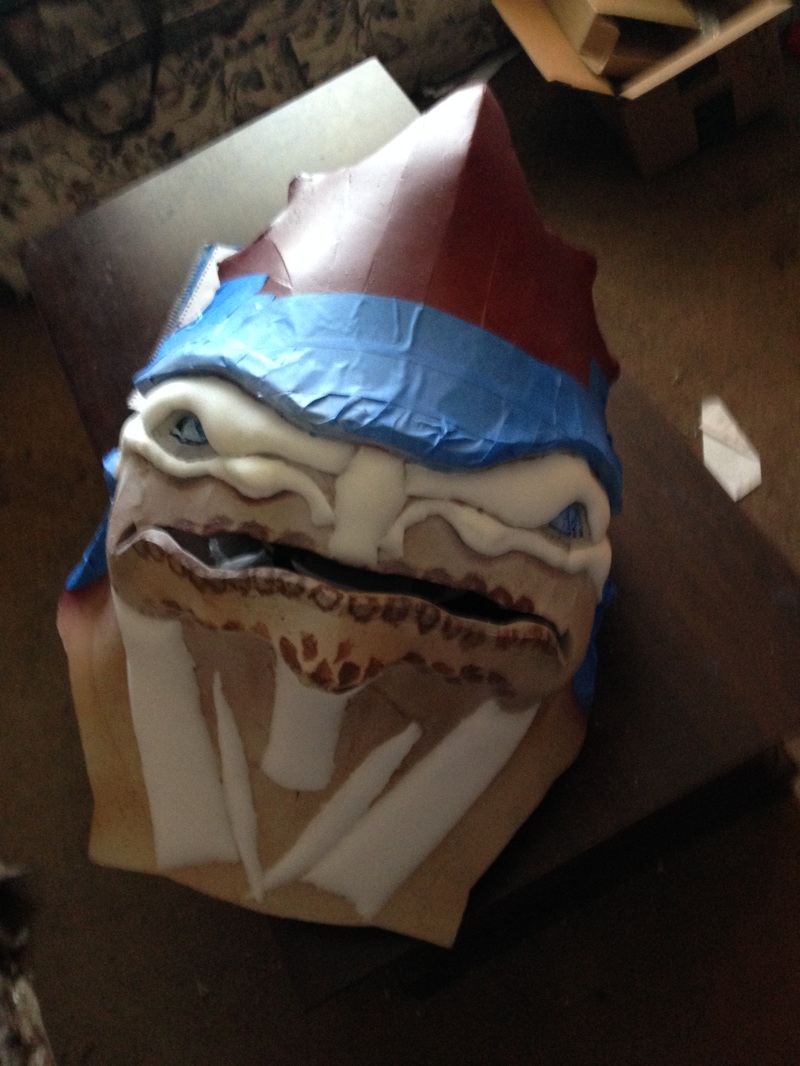
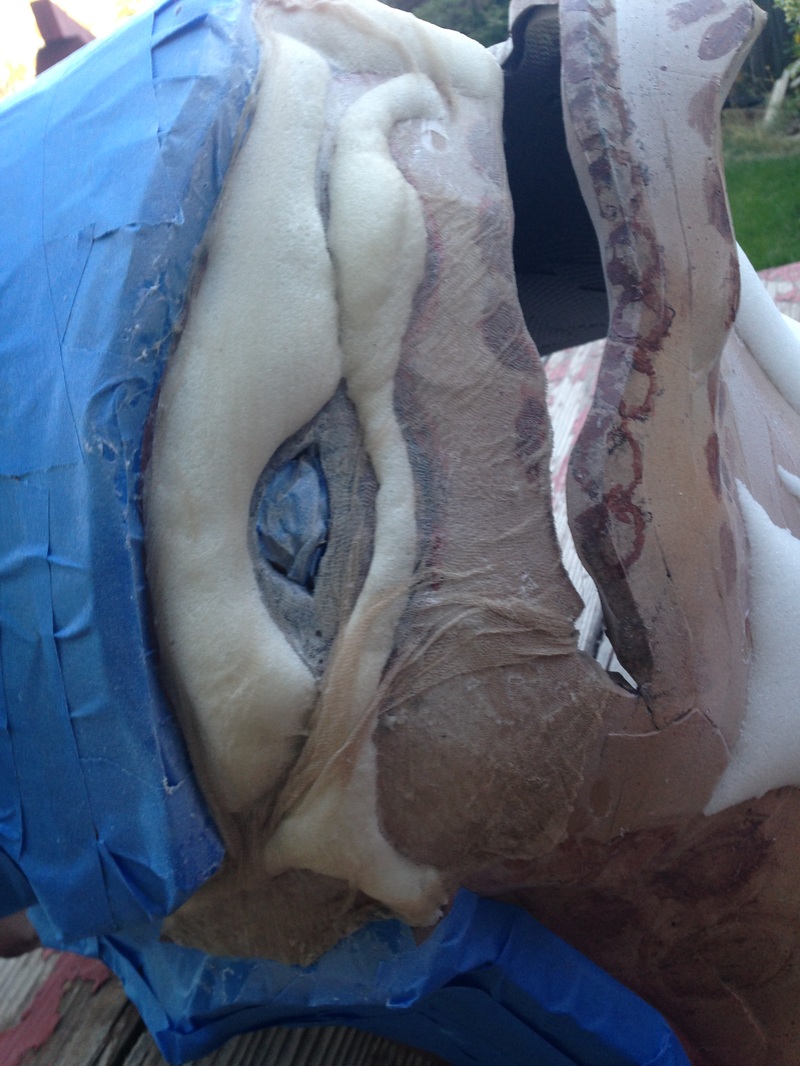
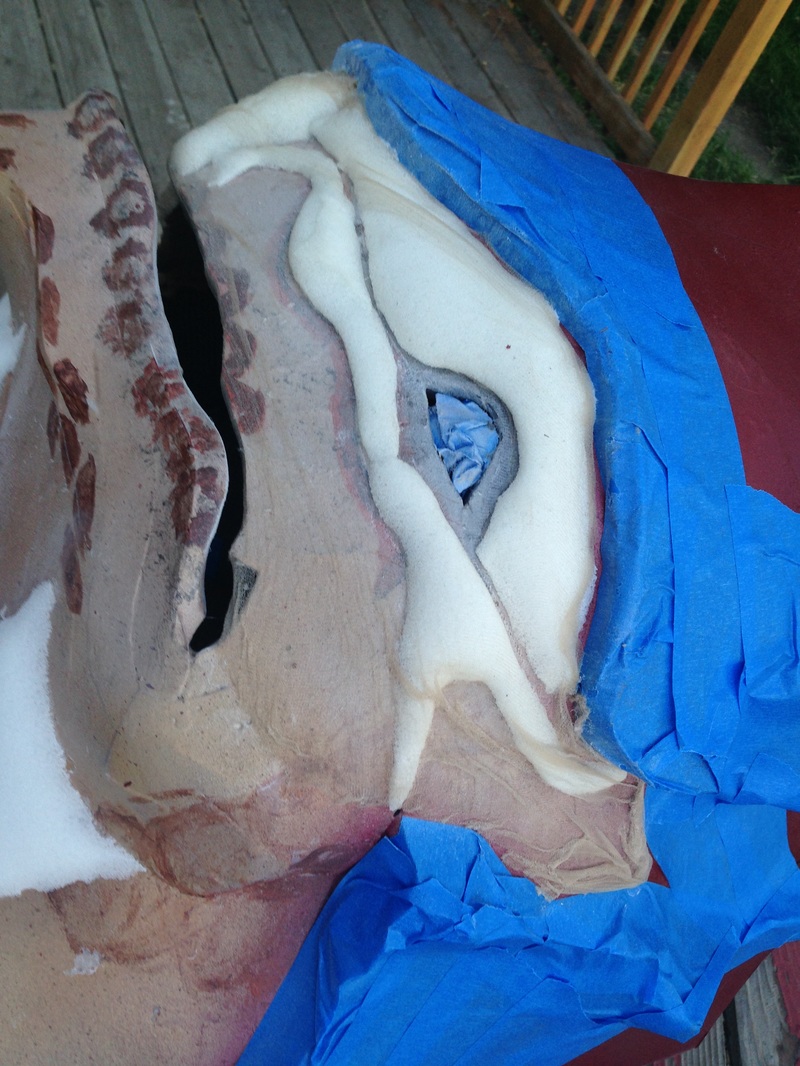
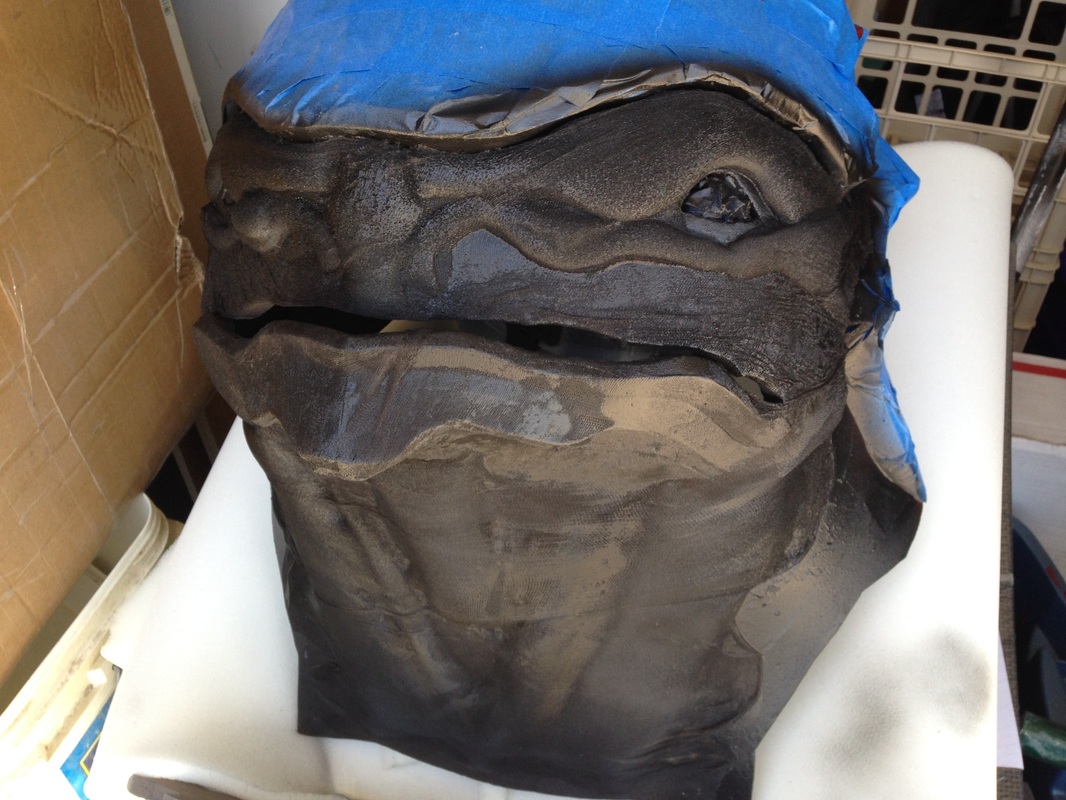
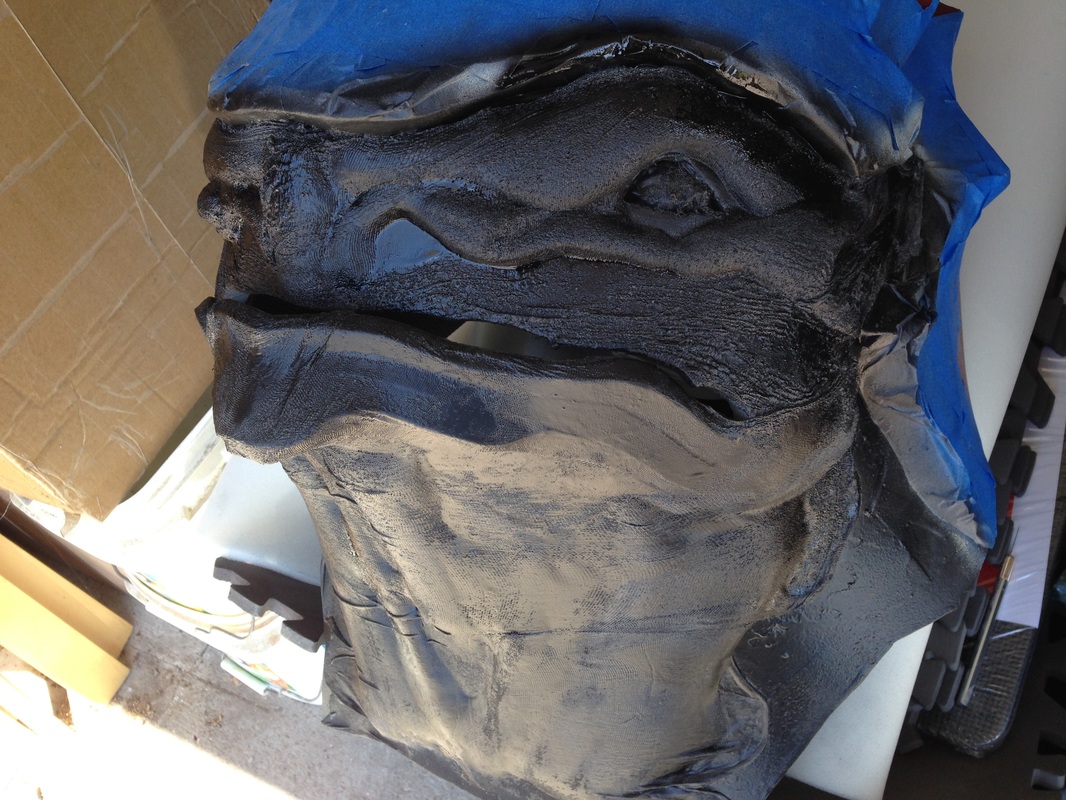
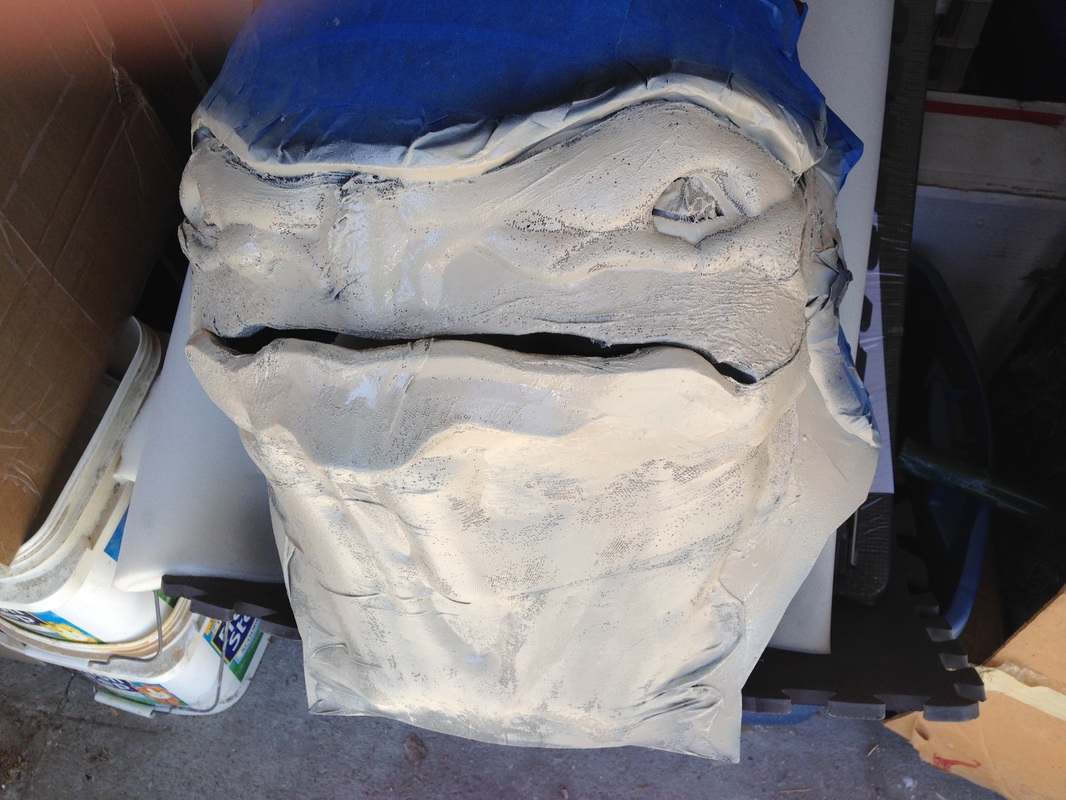
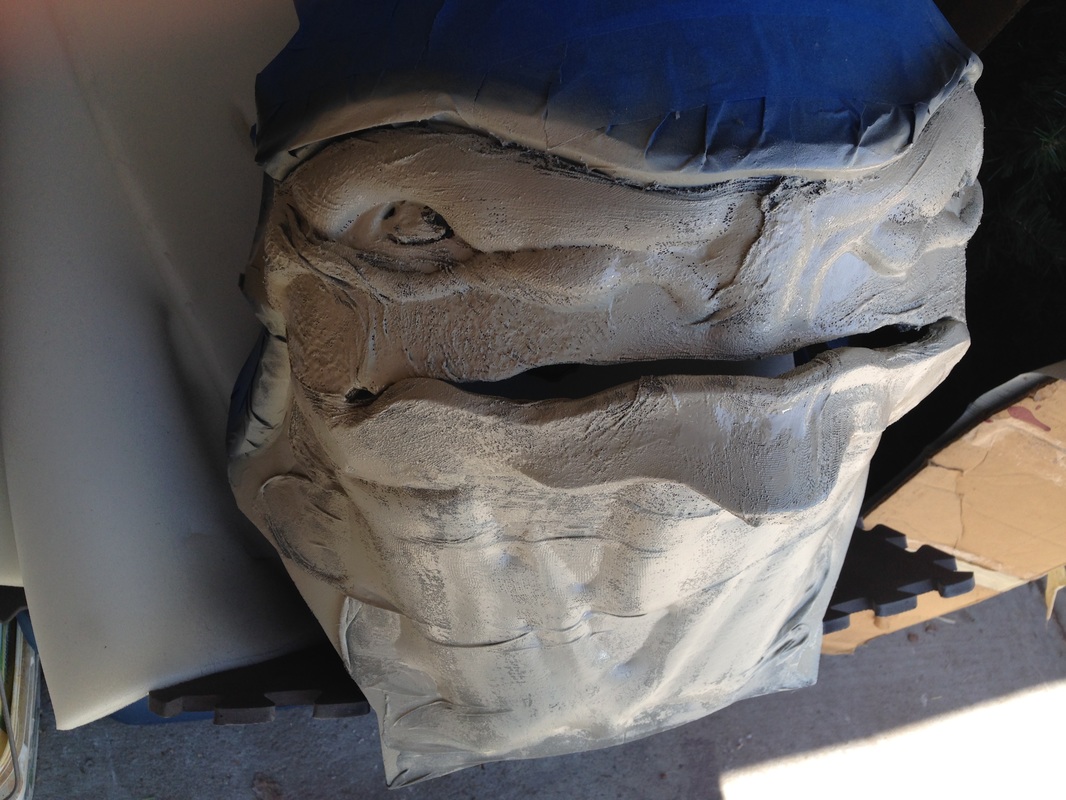
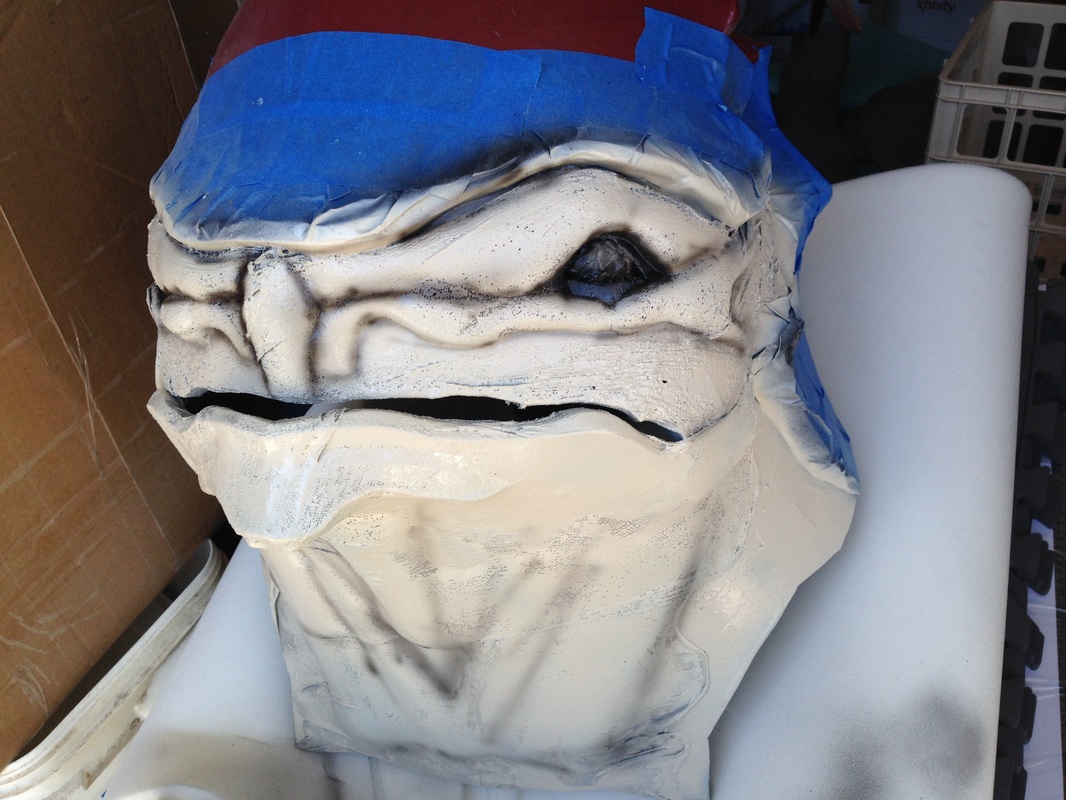
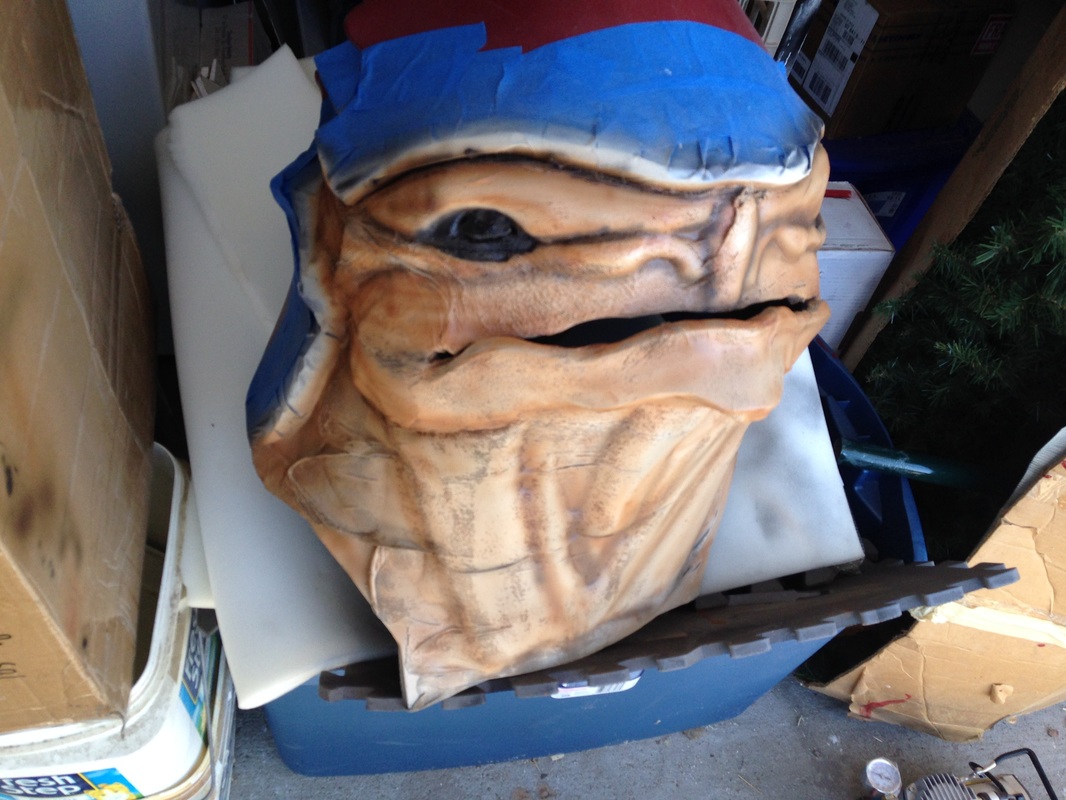
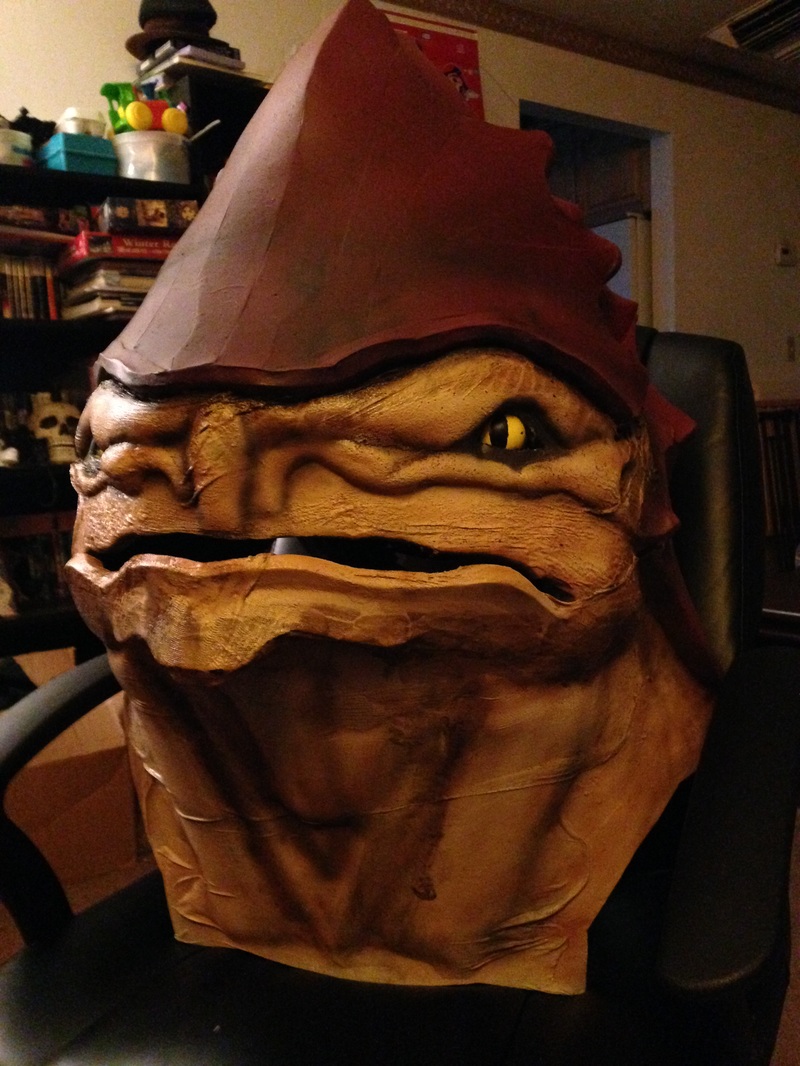
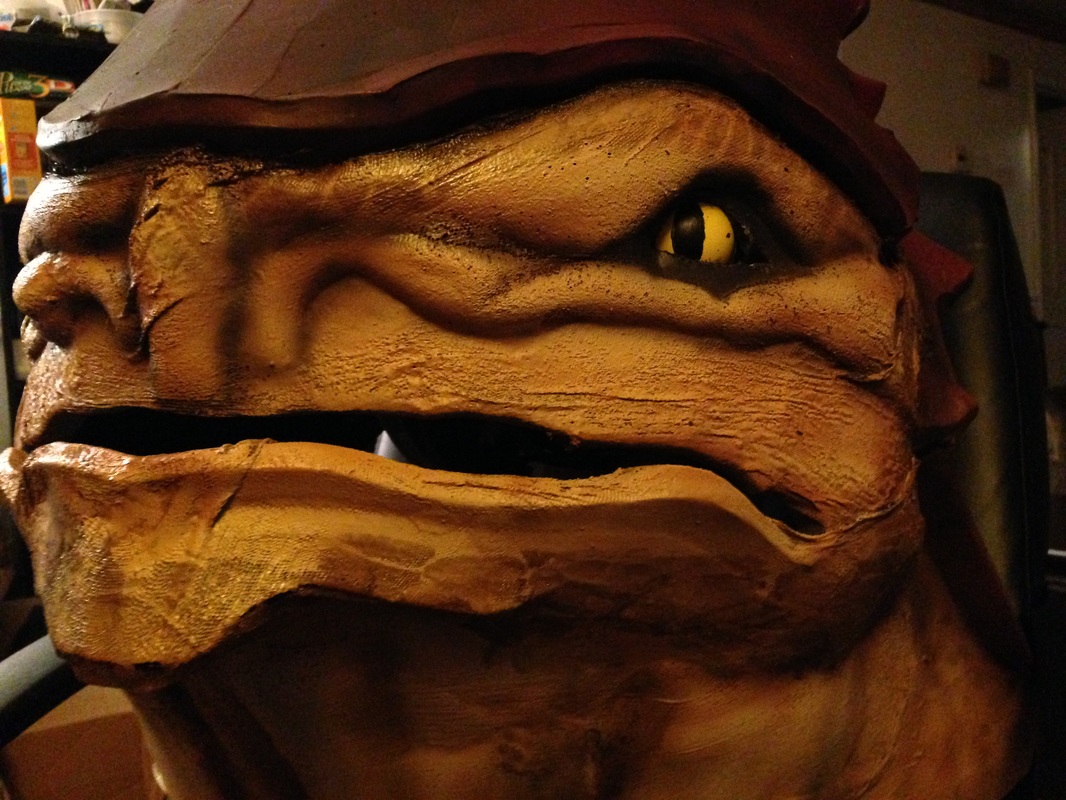
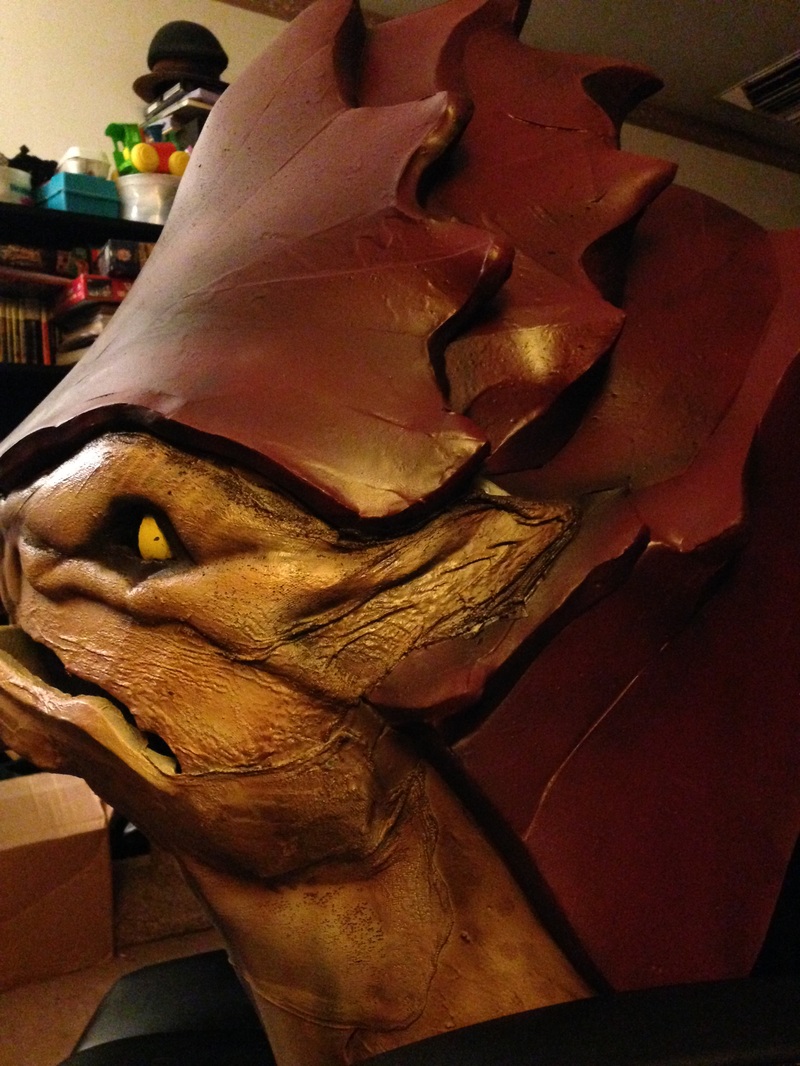
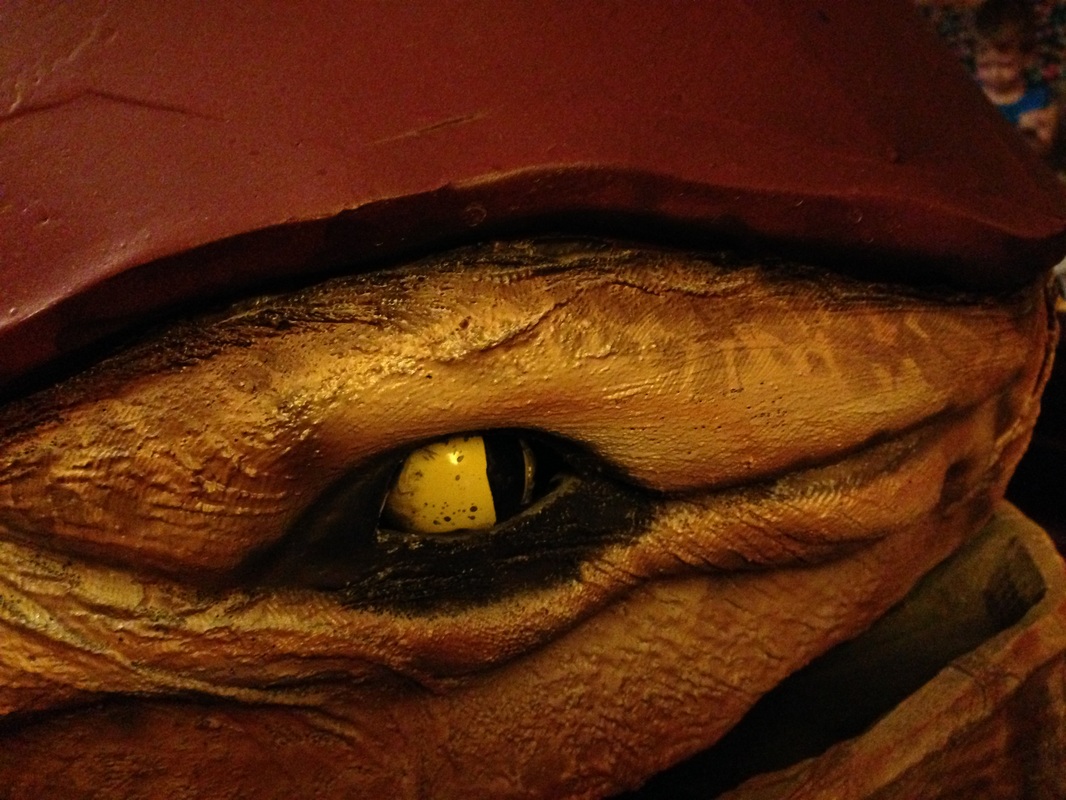
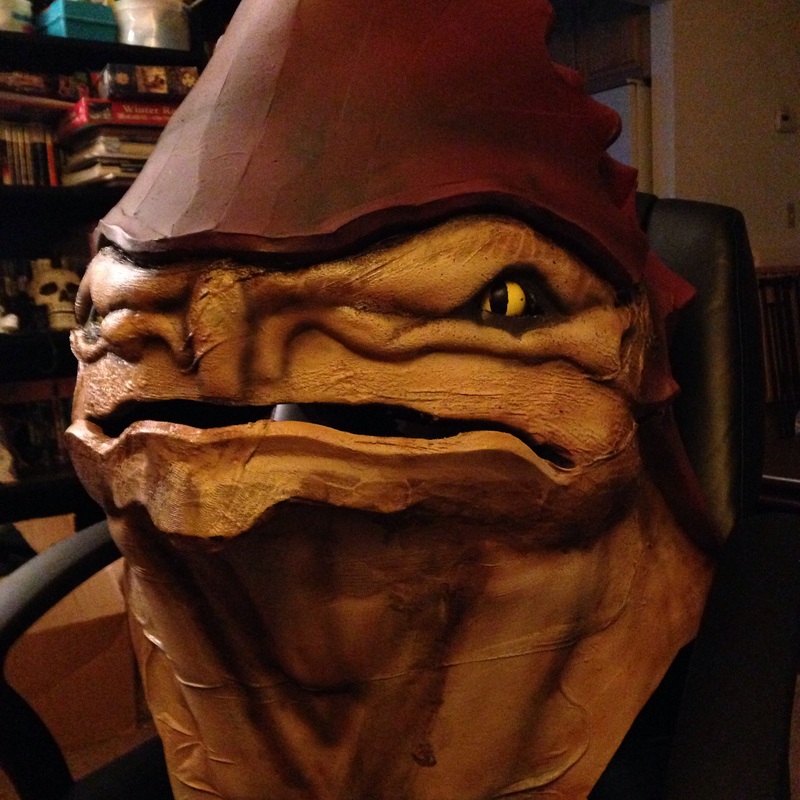
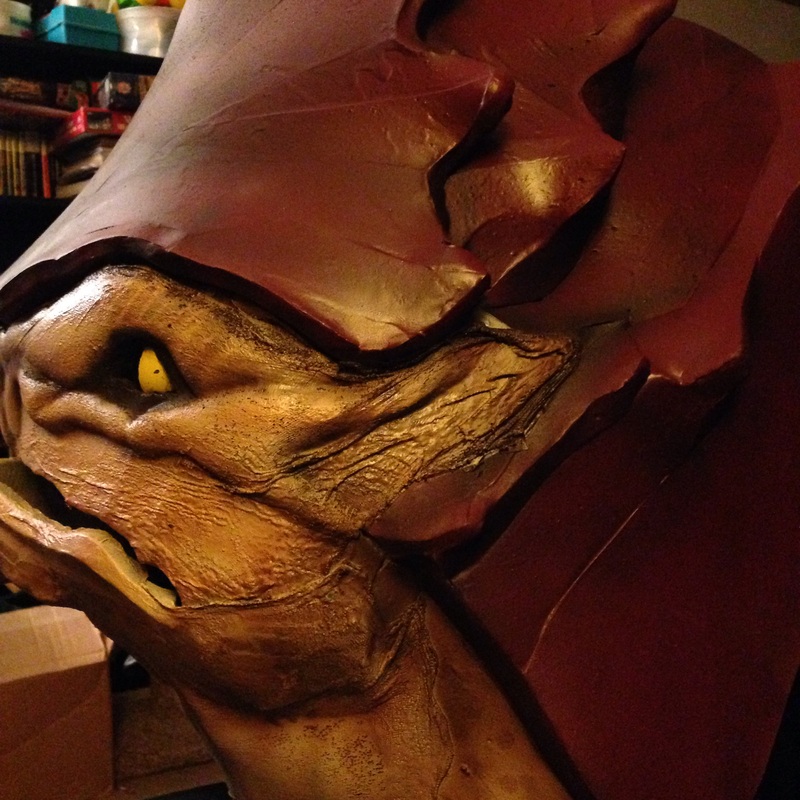
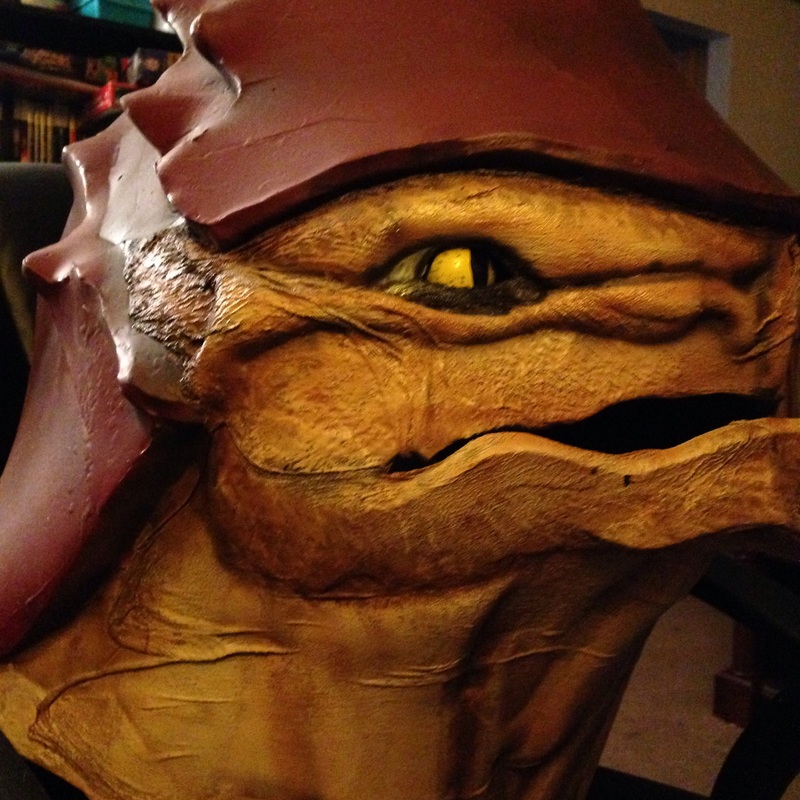
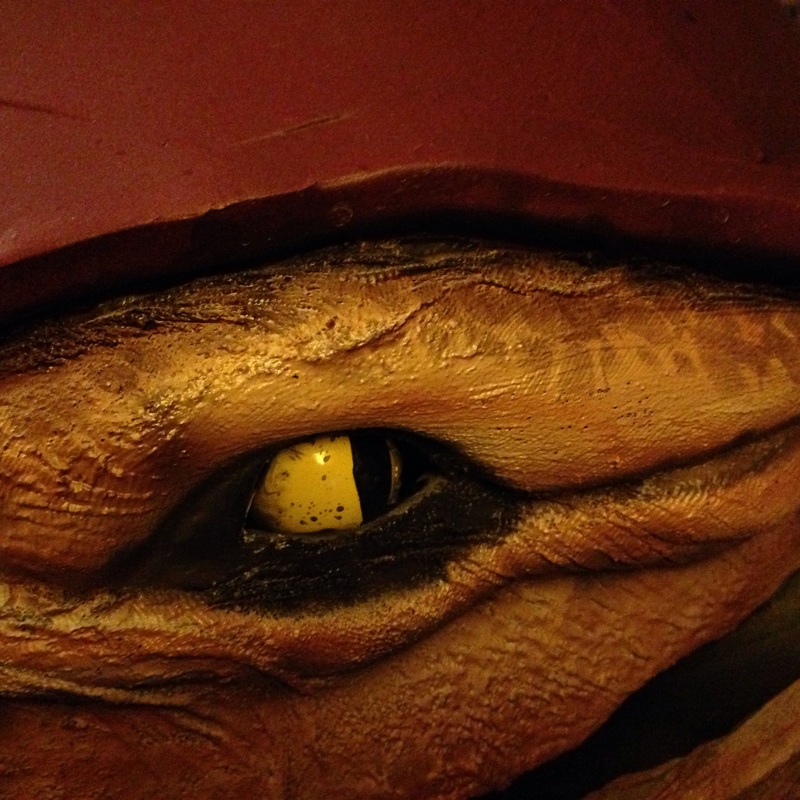
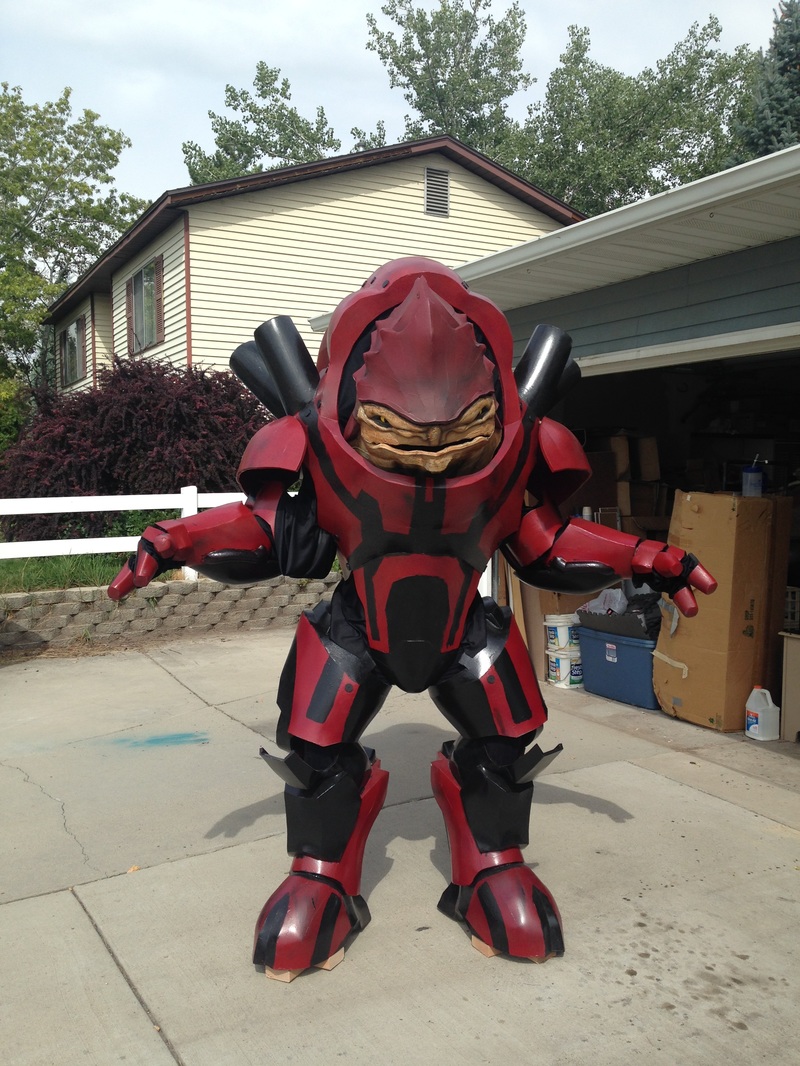
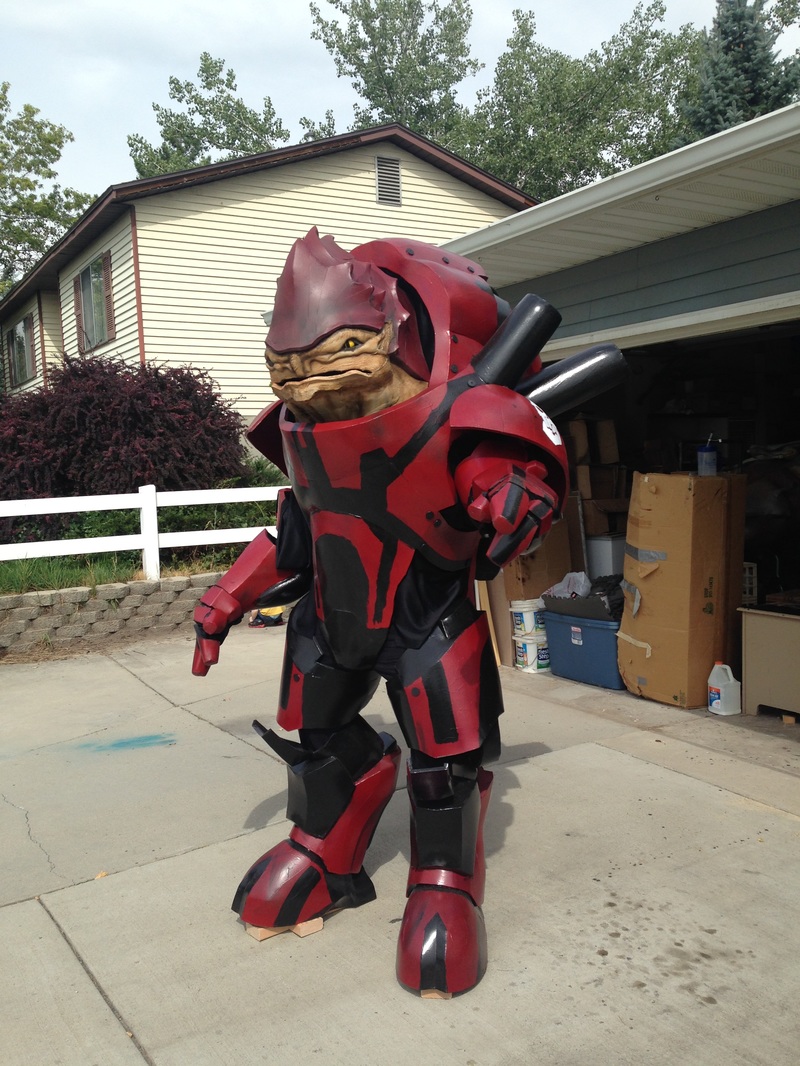
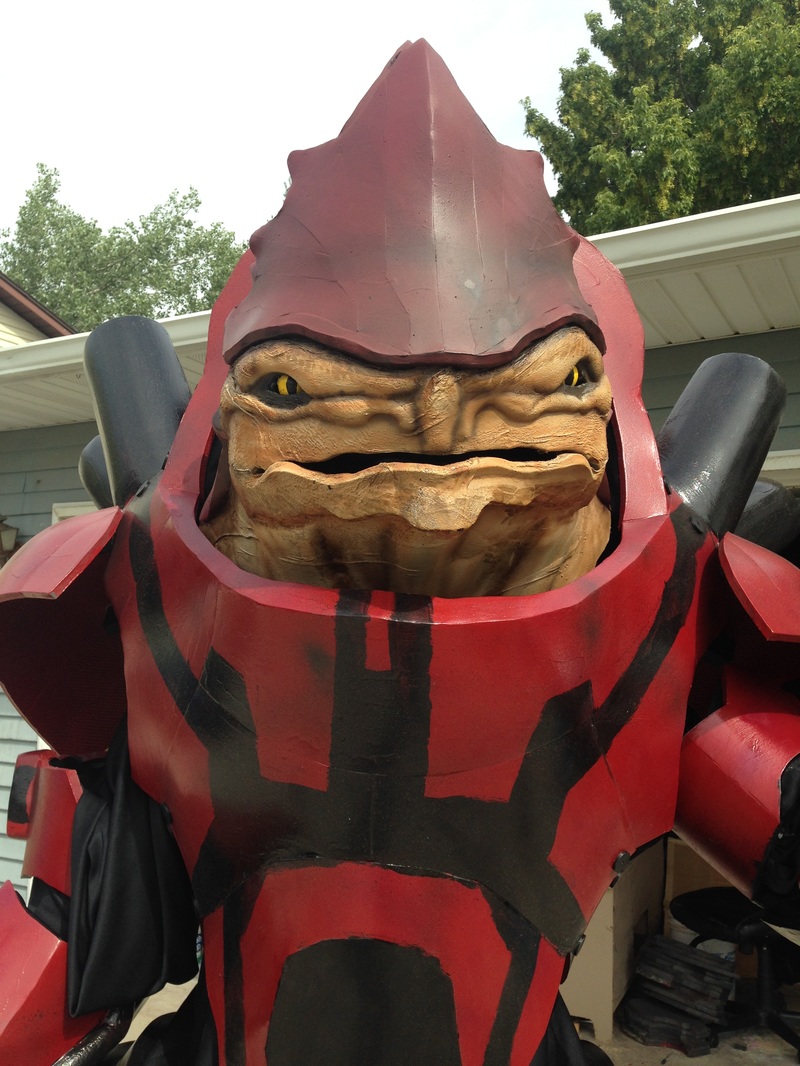
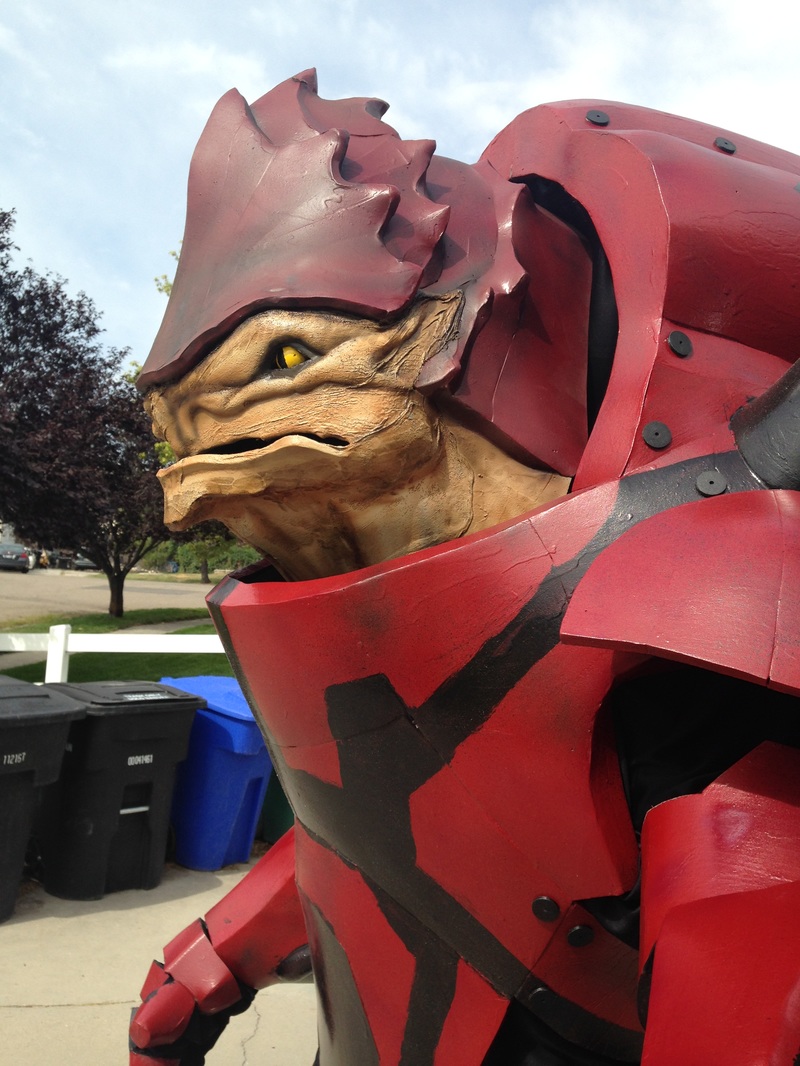
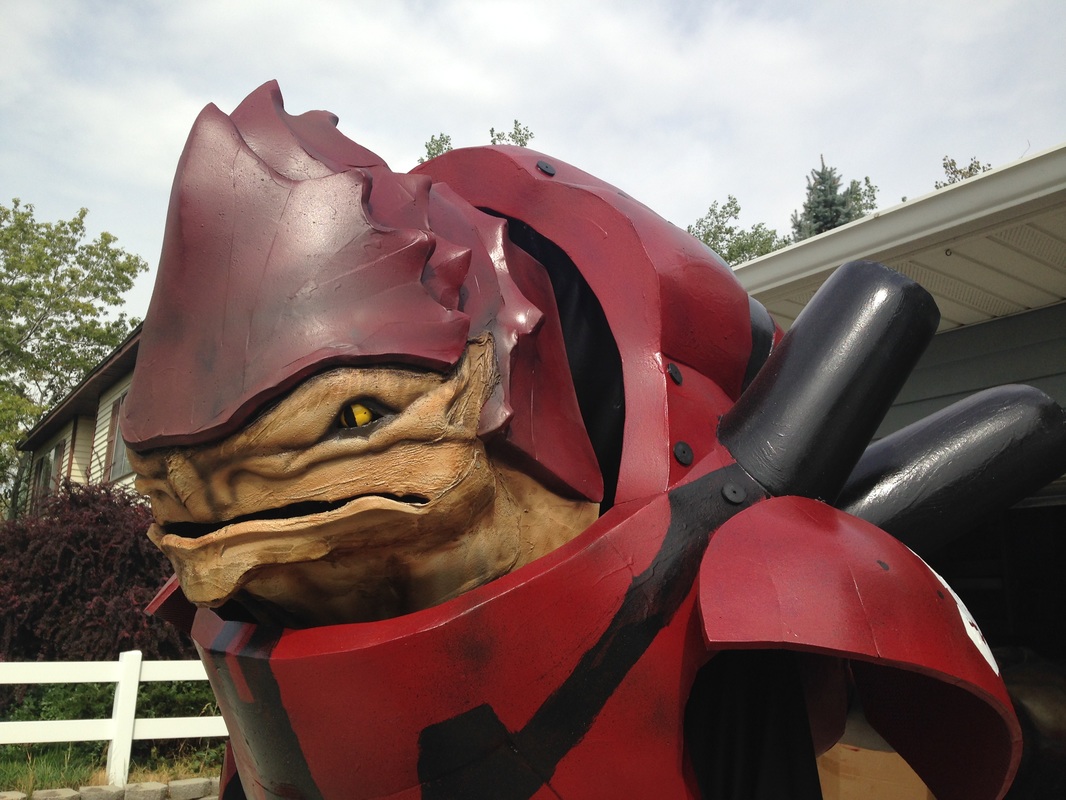
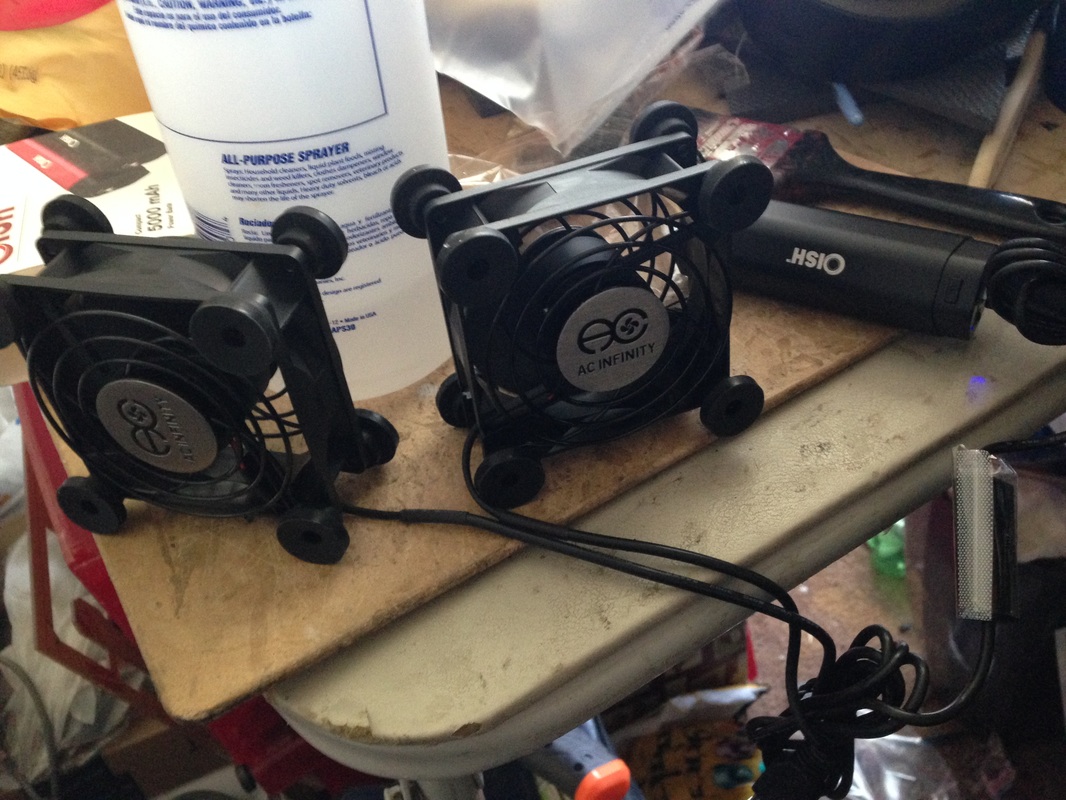
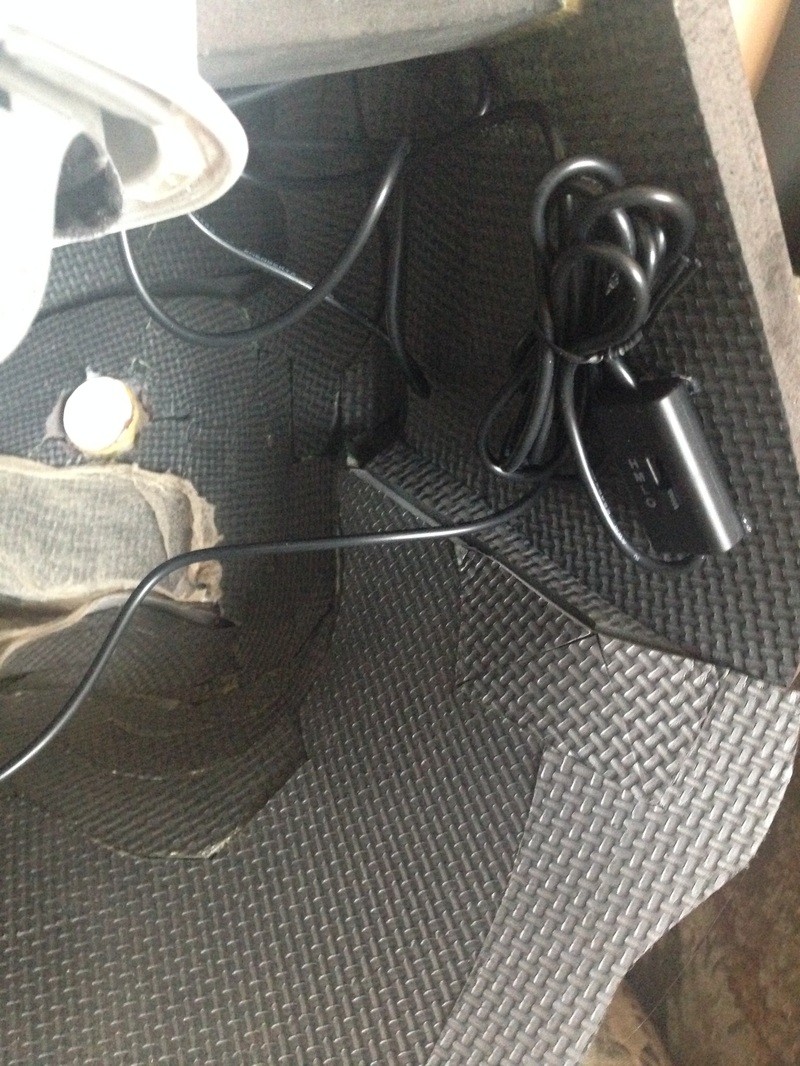
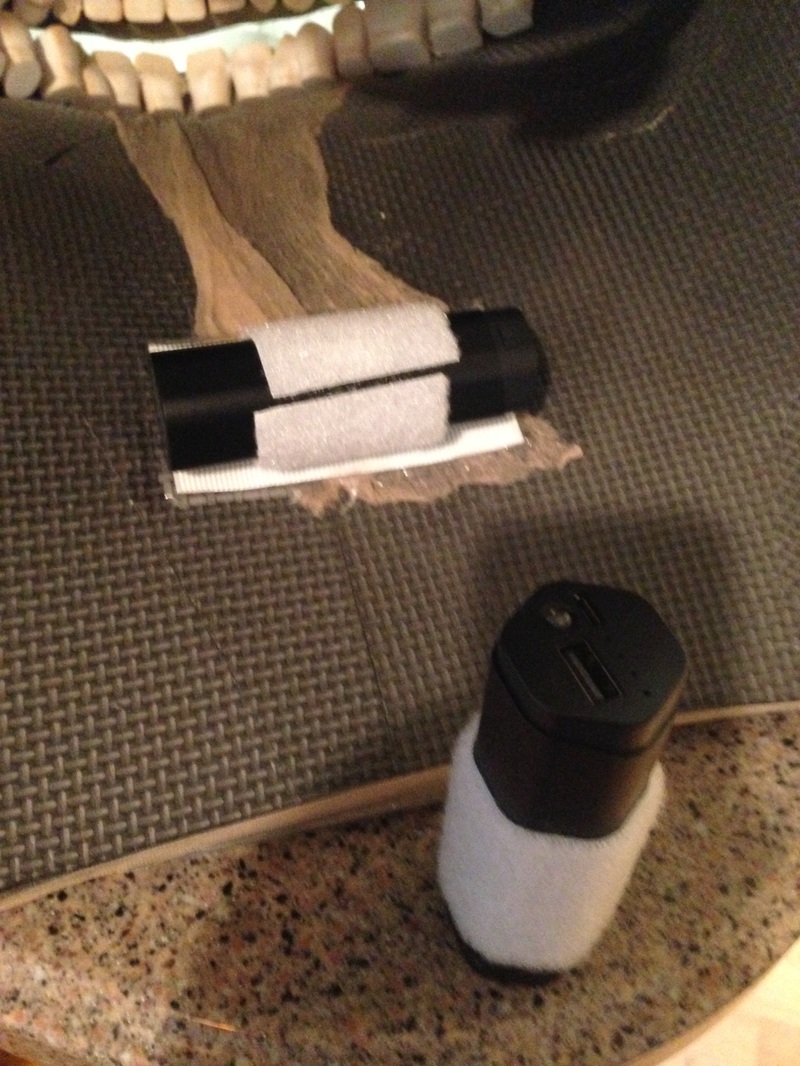
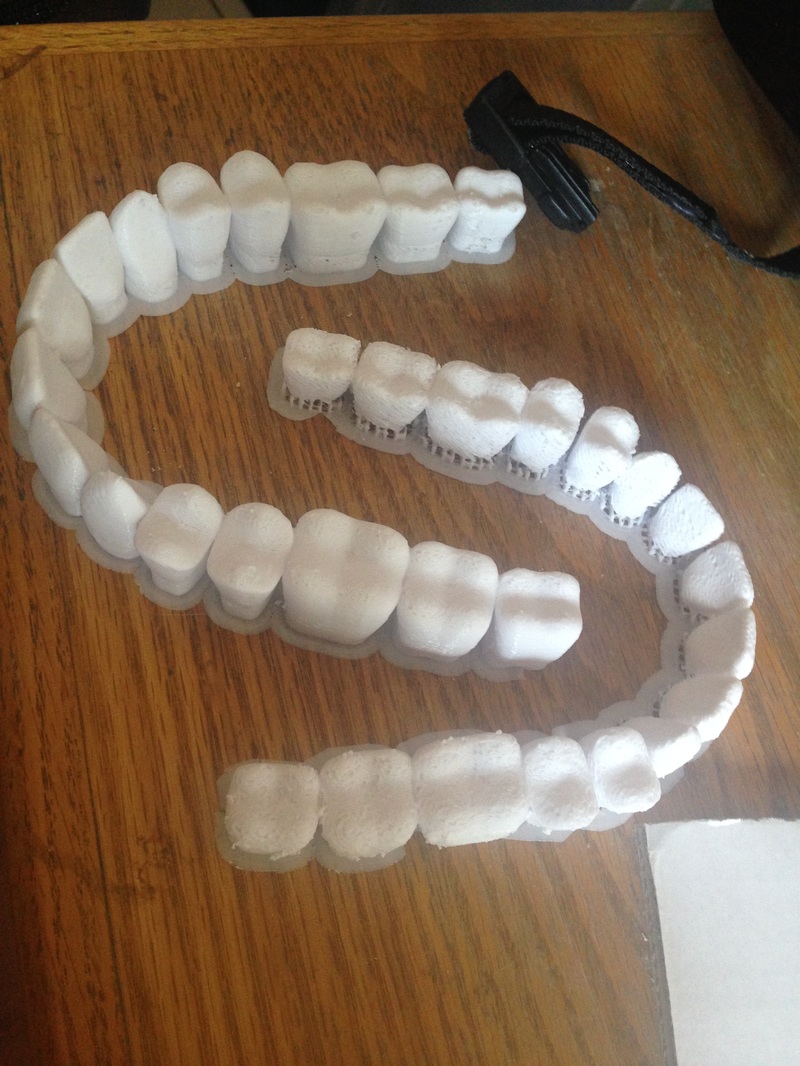
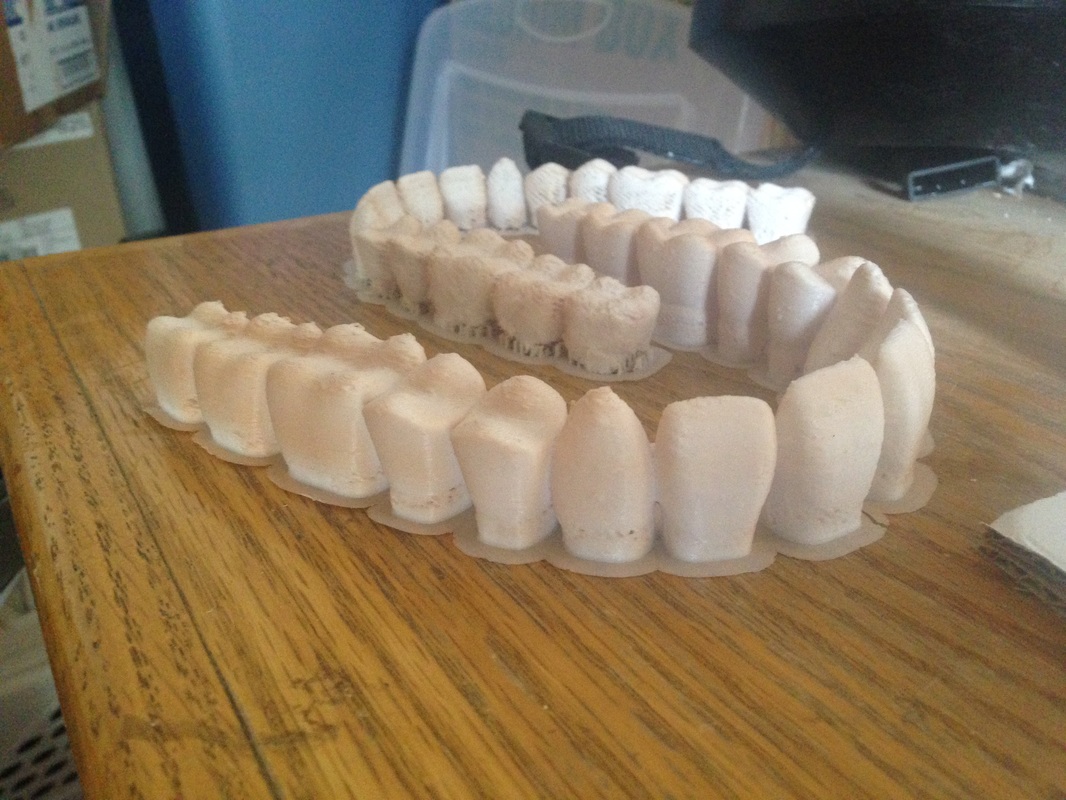
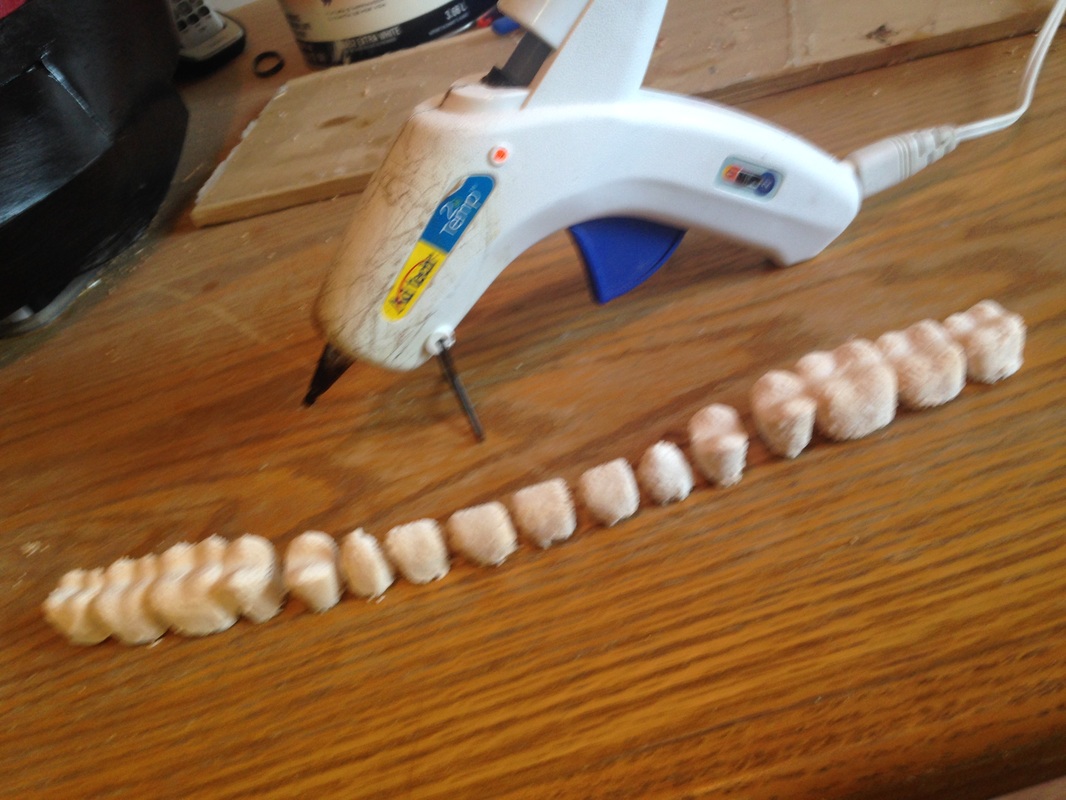
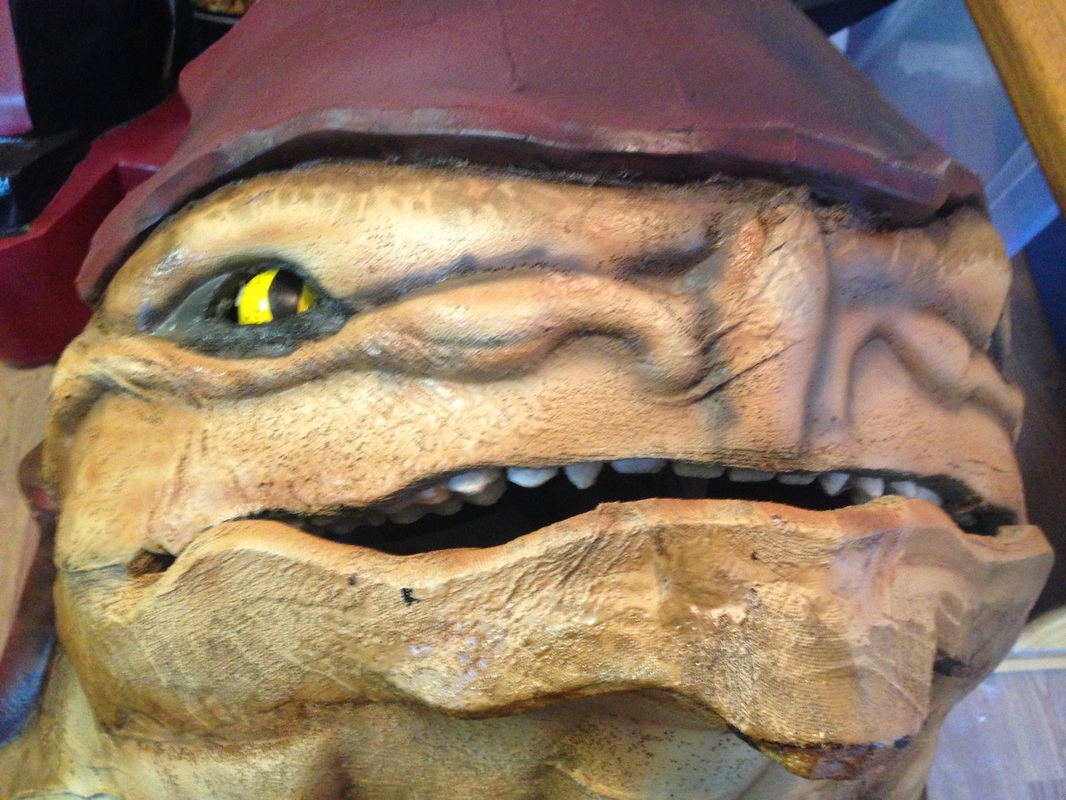
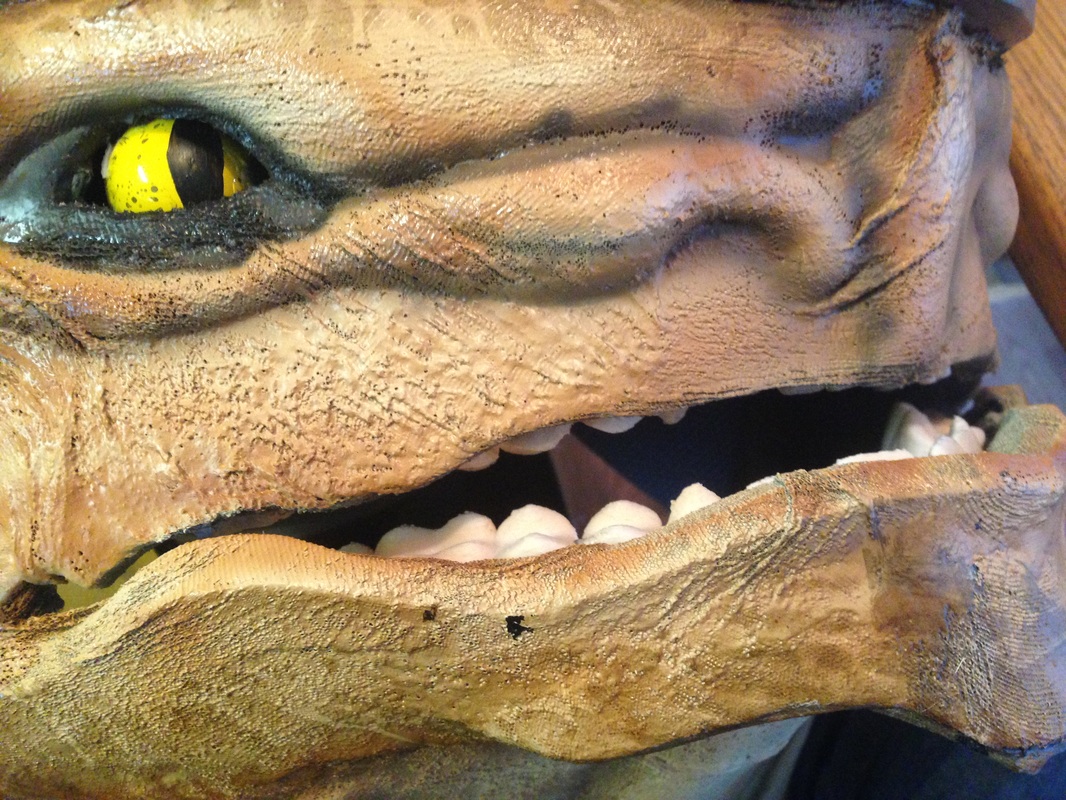
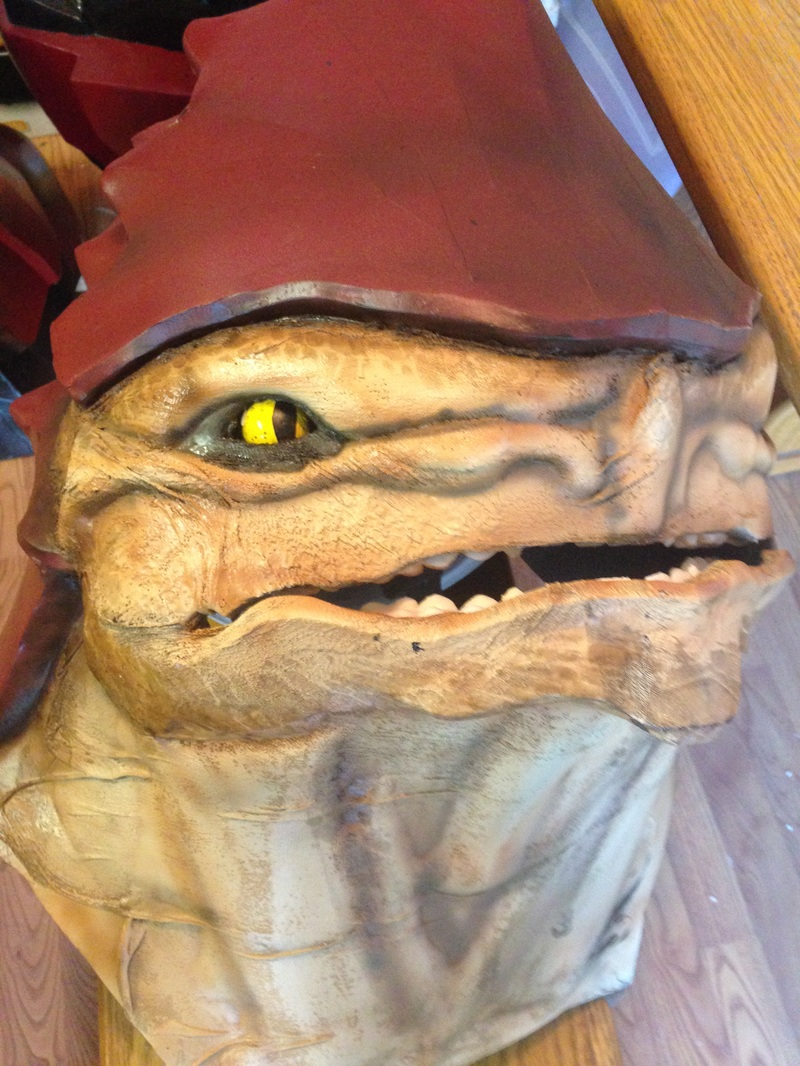
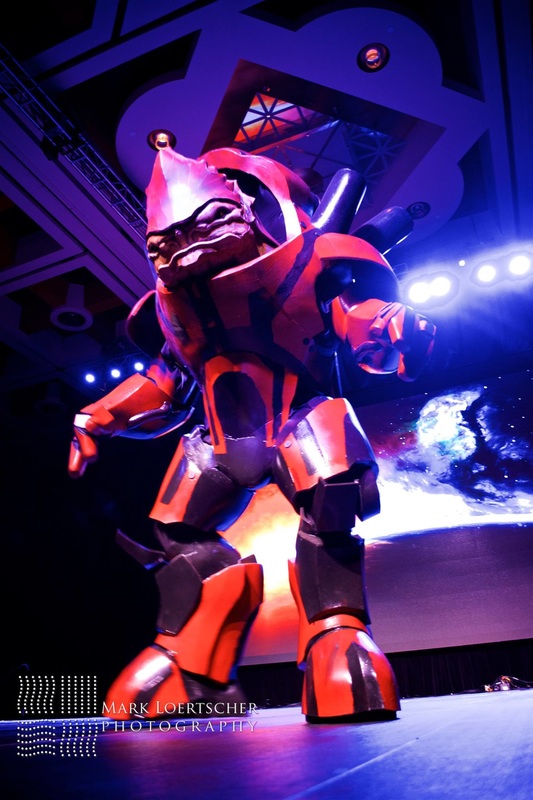
 Time for some upgrades! After walking the floor at Salt Lake Gaming Con, despite how much fun it was, I discovered several issues that would need to be resolved before I did it again at Salt Lake Comic Con. Not only was it hot as hell, despite being a very open costume, but I had little to no support on my feet - and the foam slid around a ton. So, right away I got home and took out the layered foam platforms from inside the feet. 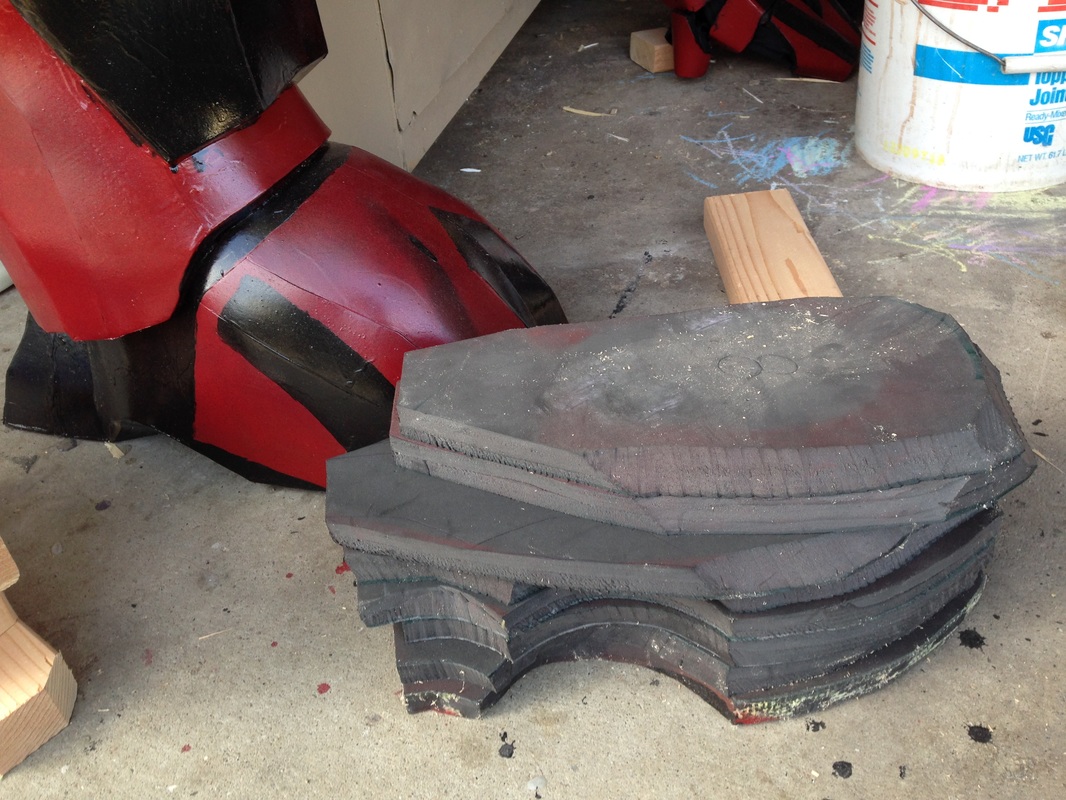 The pile of foam was the perfect height inside the boot, and I could just slip my shoe in and walk around without any straps to hold it in place. Problem was, since I had to cut each piece in order to fit into place inside the boot, and several of the layers couldn't support my ankles very well which, honestly, started to hurt after only a short time. I needed something more stable, more secure, that wouldn't slip around while I walked. So I went and bought a couple 2x4s. These I measured out using the foam stacks for the height, and the inside of the boot to ensure a good fit. 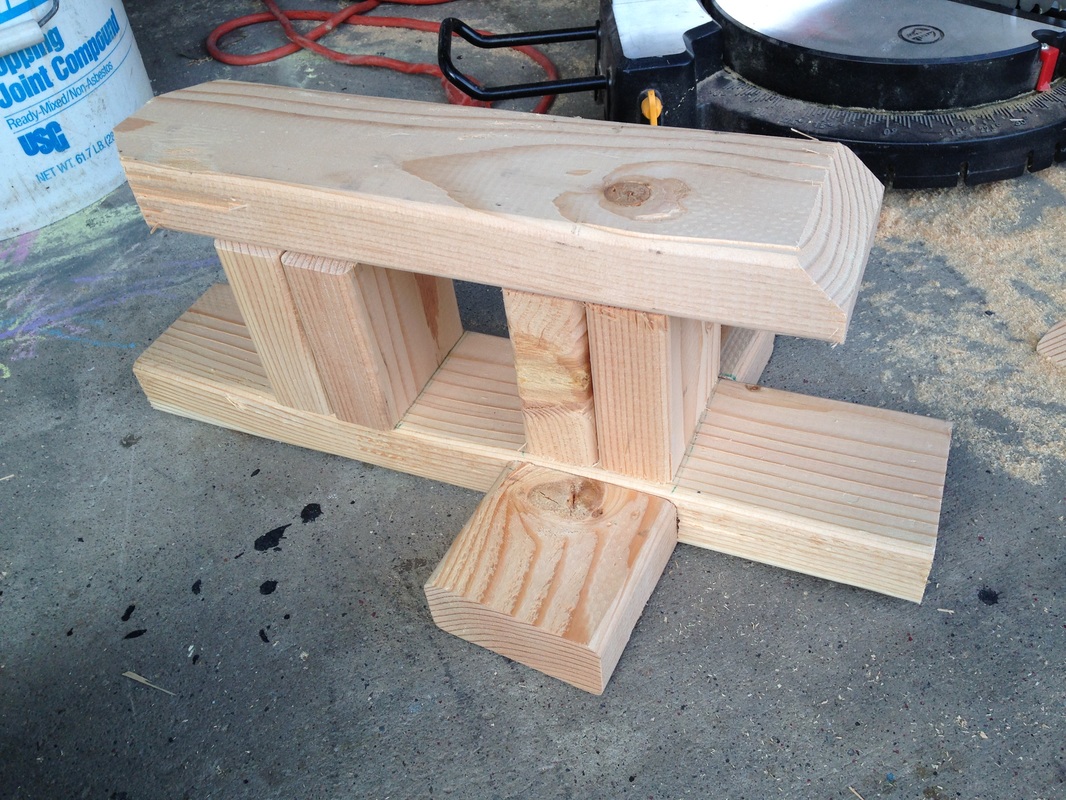 I used some of my rarely used woodworking skills and chiseled out a chunk of the two bottom boards so that they could nestle in together. This was for not only front/back support, but side to side as well so that I wouldn't tilt. Then I cut the top piece, angling the back corners and the front to the shape of the inside of the boot. After that, it was a simple job of measuring the difference remaining to cut out the support risers. I did two each to ensure a strong support, though if I did it again I'd definitely cut it down to 1 each - just wasn't sure how secure a single one would be. 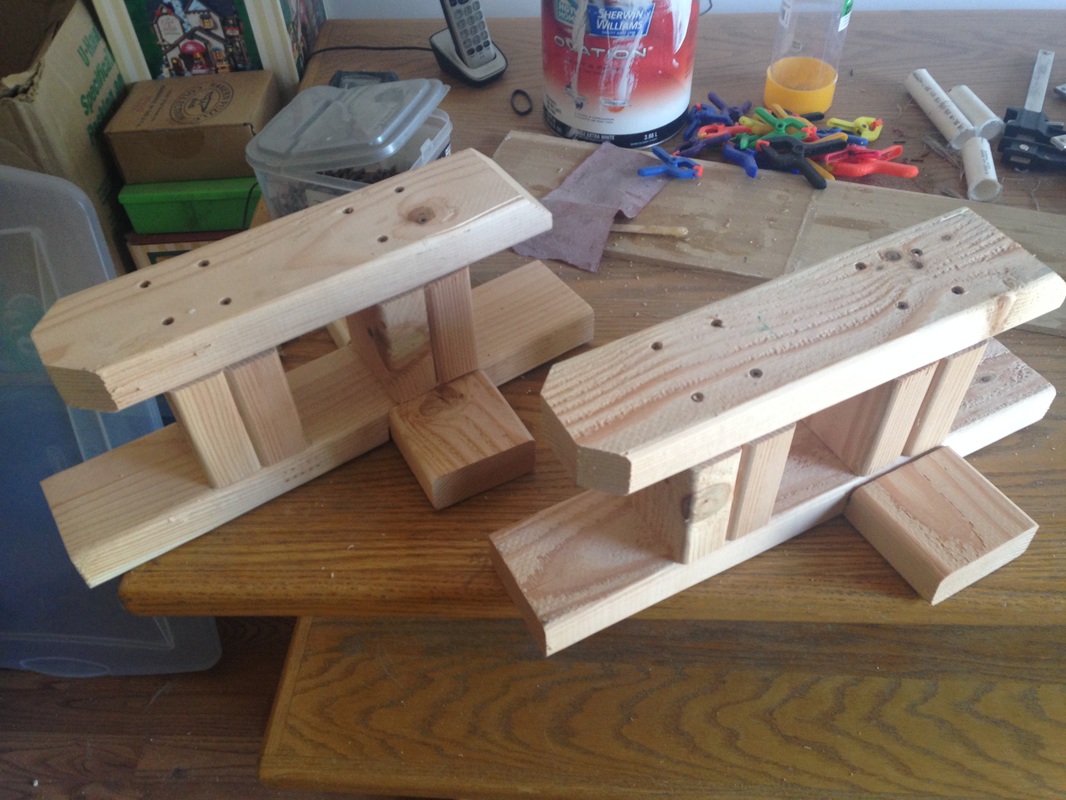 Once everything was set, I screwed it all together. Did a quick standing test; these things are super sturdy. Much better than before! So, I got a couple cheap slip-on shoes and screwed them down to permanently attach them to the risers. Then I put in a couple foam gel insoles, so that I wasn't walking on screw heads all day.  Again, another test after these were on, and despite them being much heavier than the foam, the support I now had was muuuuuuuuuuuuuuuuuuch better. It also was much better about not slipping around, though it still did a little. To combat this I glued on some no-slip drawer liners from the hardware store, and all slipping was eliminated.  Boots done! I may go in and redo them again eventually, since even here I couldn't walk for extended periods simply due to the weight: 10 pounds a foot! Extremely great support, I could pose better, I was much more sturdy when standing, I just still couldn't walk for a long time. Walking sure was faster though! Now it was finally time for the head. For SLGC, I ran out of time (and really didn't have the funds) to do what I really wanted to do with the head. Now, though, I had the time and materials to really get into it. 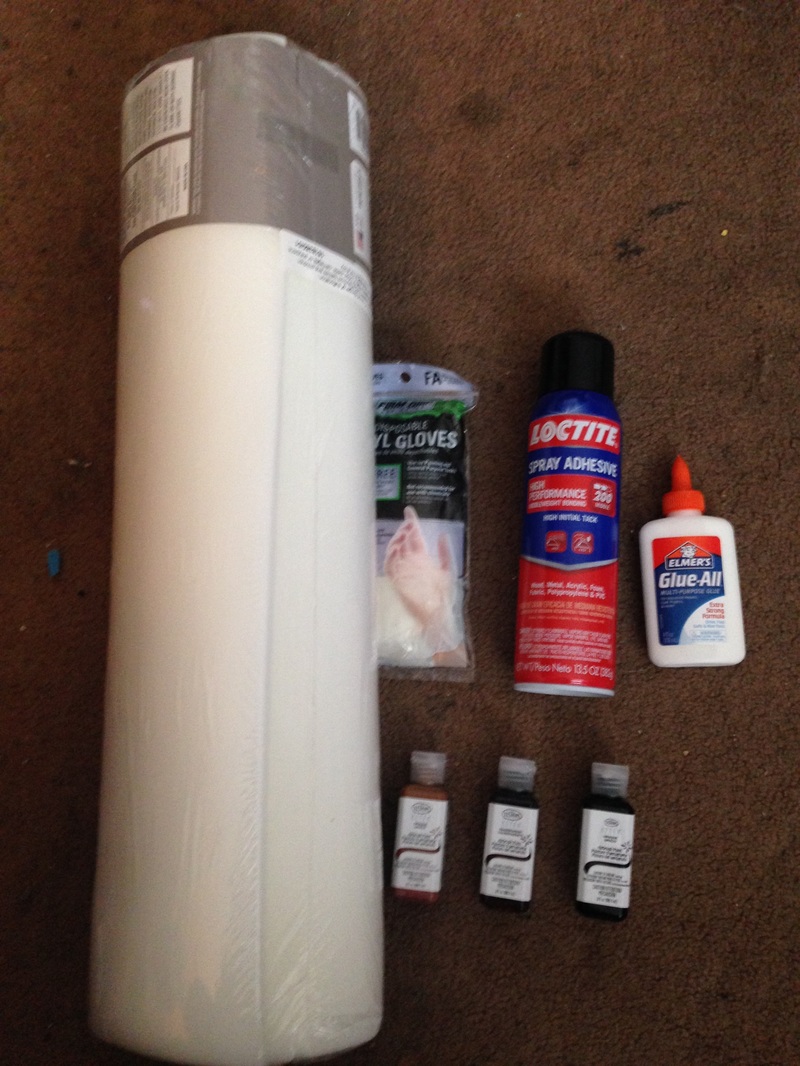 It's time to talk about another type of foam: upholstery foam! It's really great stuff, (relatively) readily available, and comes in multiple thicknesses. It's open cell foam, as opposed to the floor mat foam I used for the rest, which means it's lighter and more malleable than the floor mat foam, but comes with its own set of problems. First, I taped off the crest and eyes where I didn't want any of the spray glue to get on, then started cutting pieces of the upholstery foam out and gluing them down. The spray glue acts similarly to contact cement, where you spray it, wait for it to be tacky without coming off, then attach the two parts. Tons messier than contact cement though! Once that was done, the Krogan Bandito (TM) was ready for skinning! After a tip from my good friend Brian, I stretched nylon pantyhose over the entire face, which wrinkled and stretched and wonderfully. The thing about upholstery foam is that, unless you seal it, it'll soak up paint like a sponge. It's best to seal it with something like balloon latex, but that's expensive and I don't have a spray gun that can spray it quite yet. So, I coated the whole face in more PVA glue, then my favorite Plasti Dip. After that was dry I coated everything in the same ivory color as before, but instead of painting it all the same way as before, I grabbed my airbrush. Starting with a black, I highlighted all the deep wrinkles to add more depth. Then I went over everything with a tan color, following the movement of the face and leaving the highest spots (mostly on the neck) ivory to make a nice blend. Finally, I used a transparent brown to blend the three colors together, especially around the black areas. As a last bit of detail, to emulate the scales, I stretched a pair of pantyhose from a local costume shop that had a really neat pattern to it and, using a sponge, dabbed on the same dark brown color over the brow, chin, and edges of the neck. When I removed the pantyhose, this left a great scale-like pattern where I had dabbed the brown. Once that was done, I removed the tape and airbrushed some more black around the crest, to take down some of the shine and blend it with the rest of the face a bit better. Doesn't that just look AWESOME???? I love it, I really do. If you want to get more insight on the process of the head, I go into much more detail in my new eBook! Check it out in the Store. :) Now that the risers and head were done, time for yet another test! Test as much as you possibly can to make sure things work right, especially after big changes like these. Looks awesome right? Still missing something though. I needed to add a couple fans to deal with the heat, so I picked up a couple USB fans and portable power banks. Turns out I only needed the one battery, since even on high one battery lasted all day, but it's always good to have a spare. I glued the switch in a spot that was easy for my handlers to access, and used velcro to secure the batteries - though I had to place those under where my chin would be to keep the head balanced. Then, to finish off the look and really add some good realism, I 3D printed a set of teeth! Krogan are omnivores, did you know? :) These I hot glued into place. Made it a tad harder to see out of, but really added to making Garm look real. Even better, depending on the angle I put the head, made him look either happy to see you, or ready to charge. XD DONE! For realsies this time. Had a blast at SLCC, though again due to the weight of the risers I couldn't walk around for very long. Was much better than the foam though, so there's that! Be sure to check out FOAM: An Instructional Guide for Armor and Prop Making for more details on the process on the head! I'll also be making a cool announcement soon regarding foam armor and prop making so be sure to follow me over on Facebook or Twitter to be one of the first to know!
0 Comments
|
|


 RSS Feed
